
Access And Manage Mileage Logs Efficiently In Google Drive
You were chosen to be here because we believe in your ability to care, contribute, and grow with us. Riverside is built on trust, relationships, and showing up — for our clients and for each other.
Welcome to the team. We’re glad you’re here.
Discover how to quickly locate and utilize your Mileage Logs within Google Drive. This update streamlines access and management to enhance your tracking experience.
Go to drive.google.com
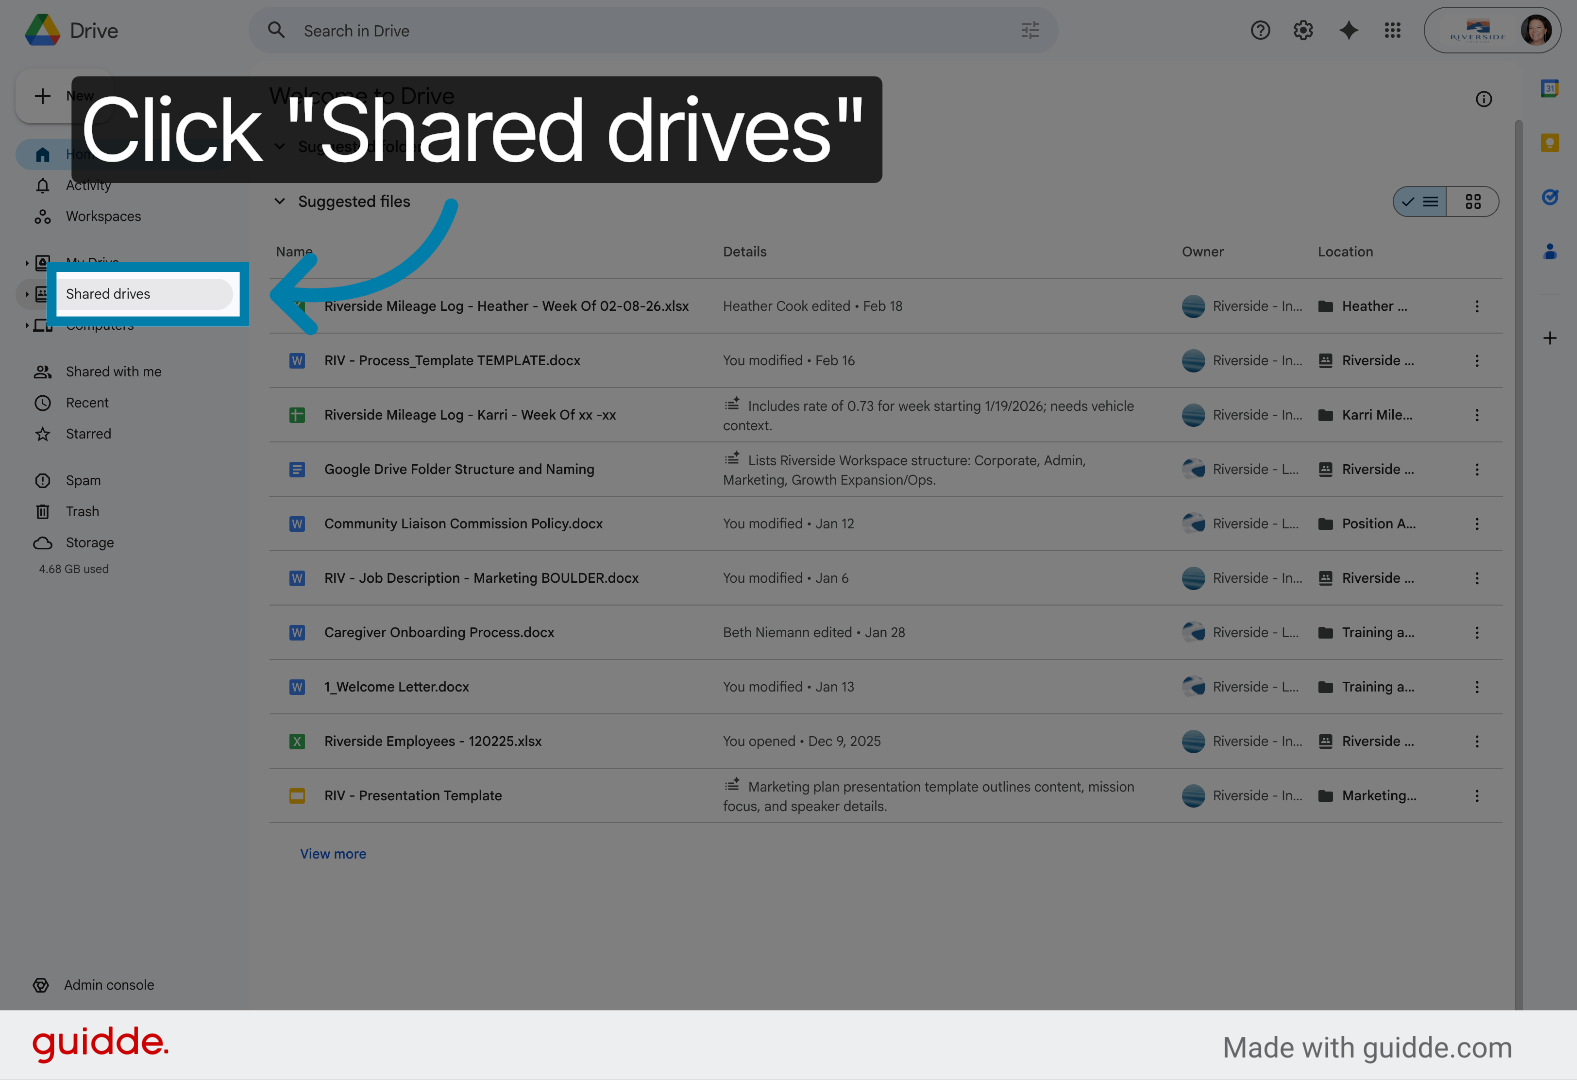
1. Select Shared Drives
Select Shared drives to access team-shared folders and files.
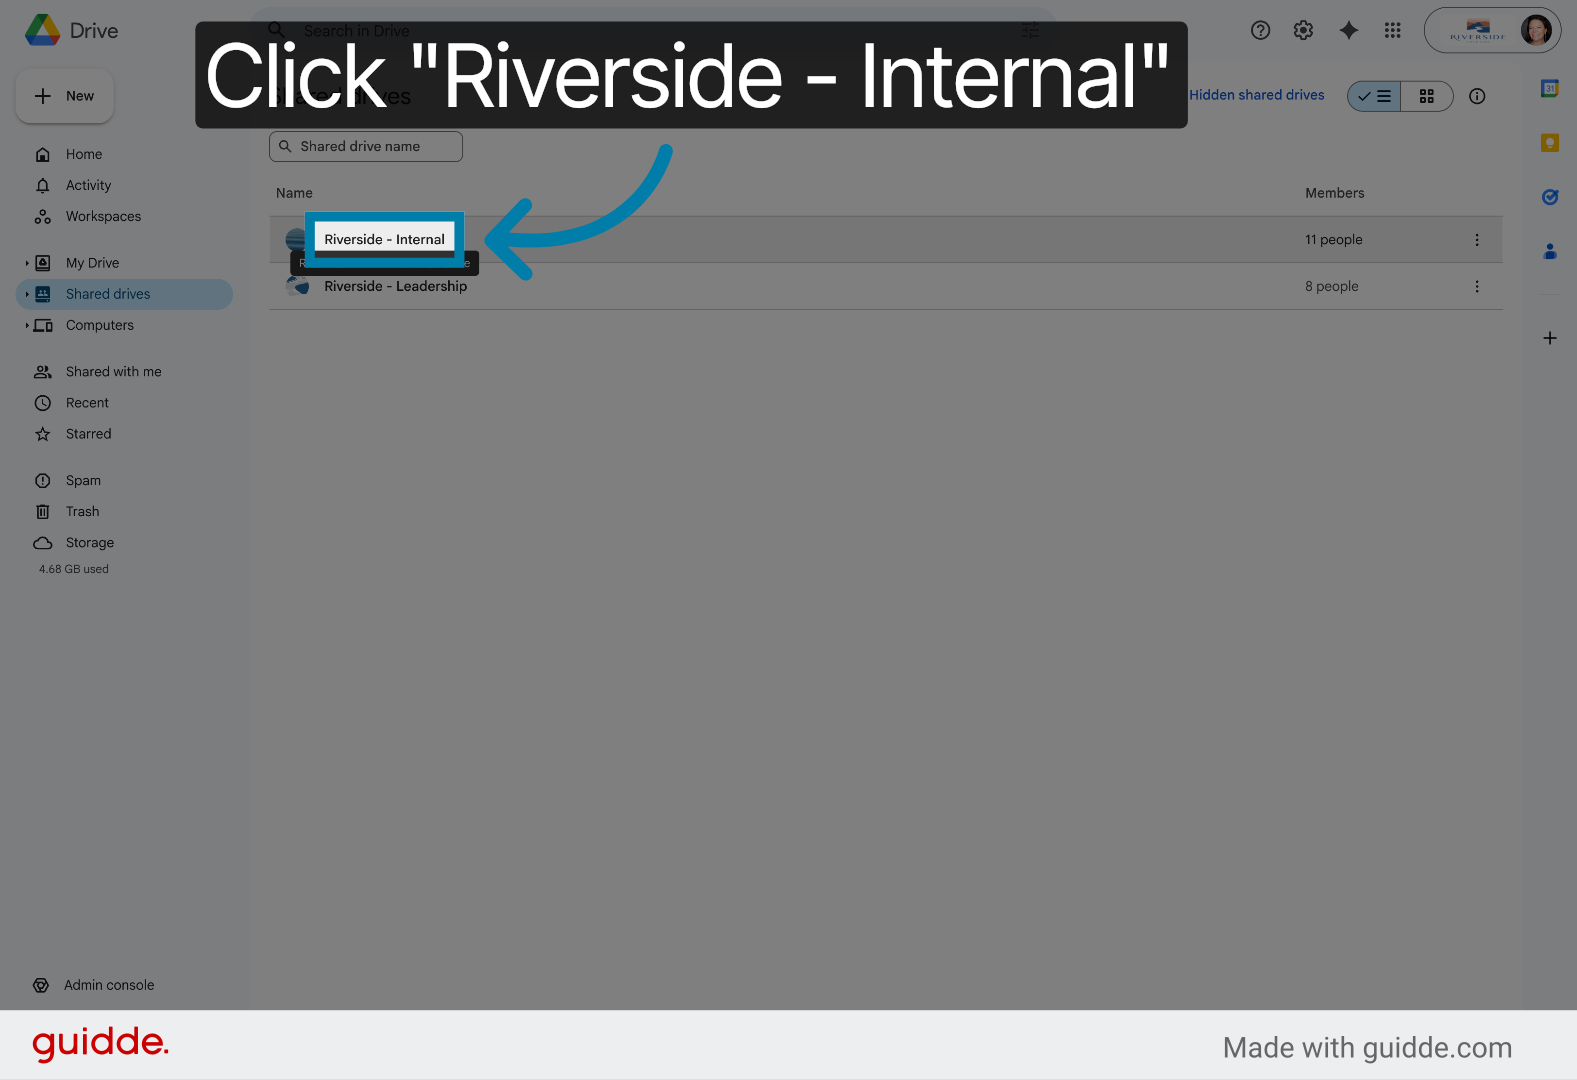
2. Open Riverside Internal Drive
Open the Riverside - Internal shared drive to find relevant project files.
3. Confirm Riverside Internal Drive
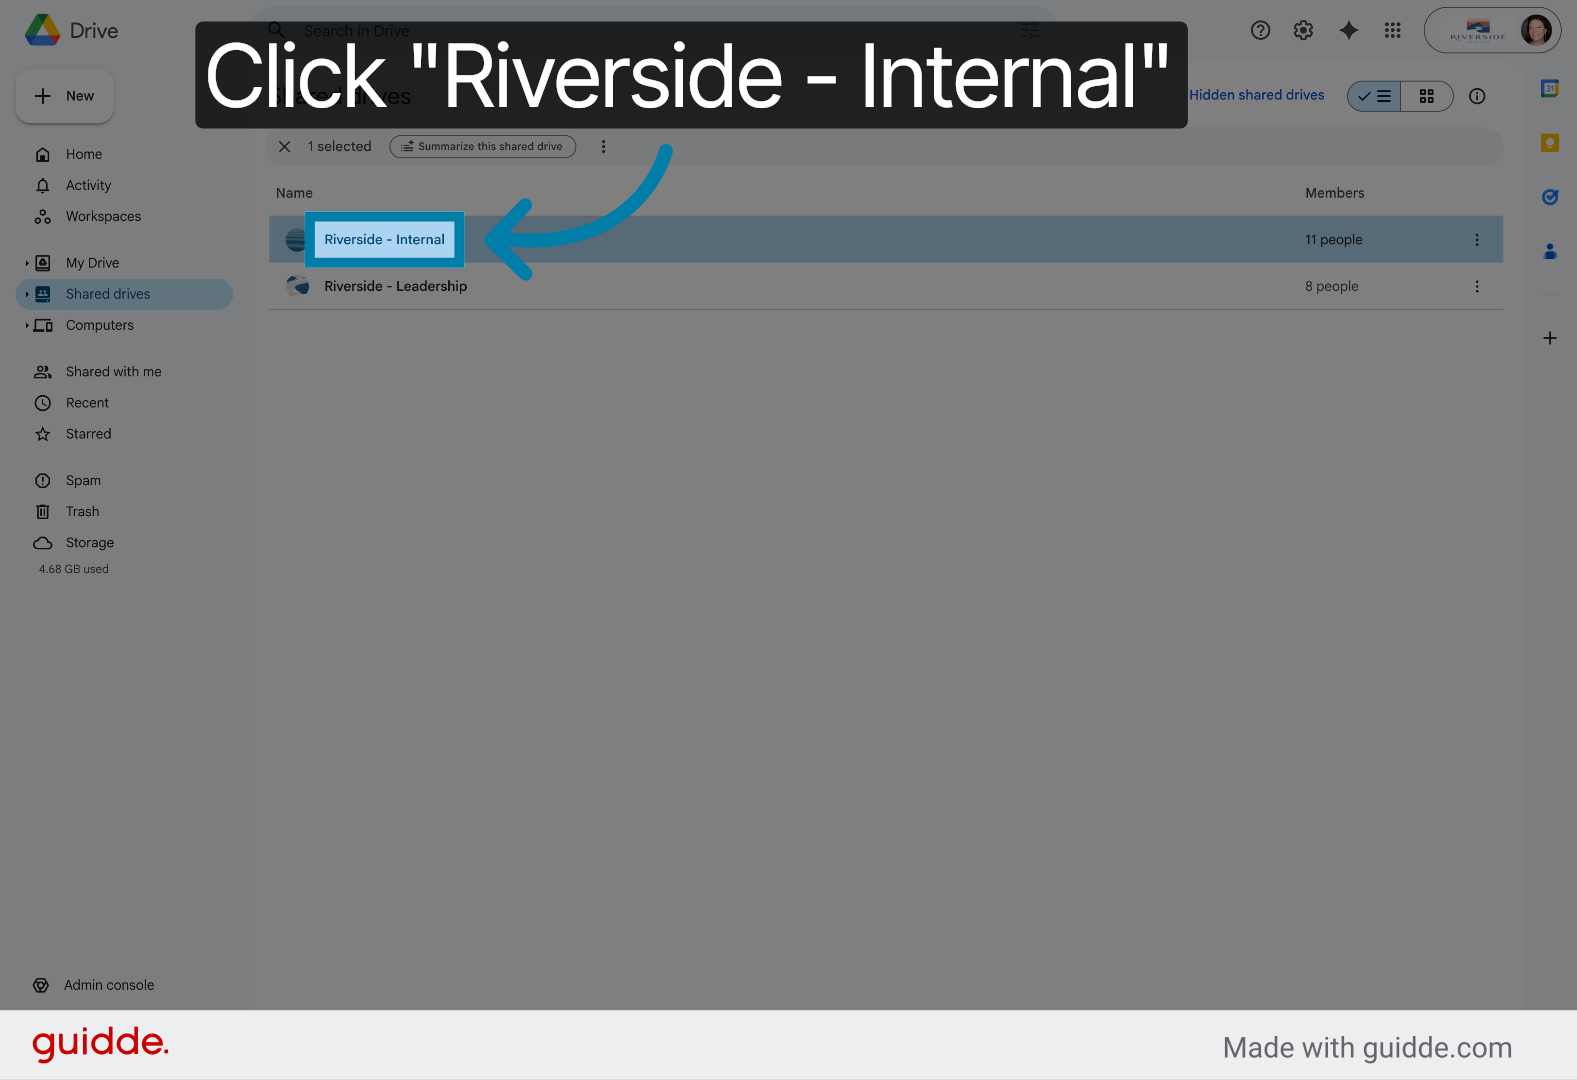
4. Access Riverside Internal Drive
Access the Riverside - Internal shared drive to proceed to Mileage Logs.

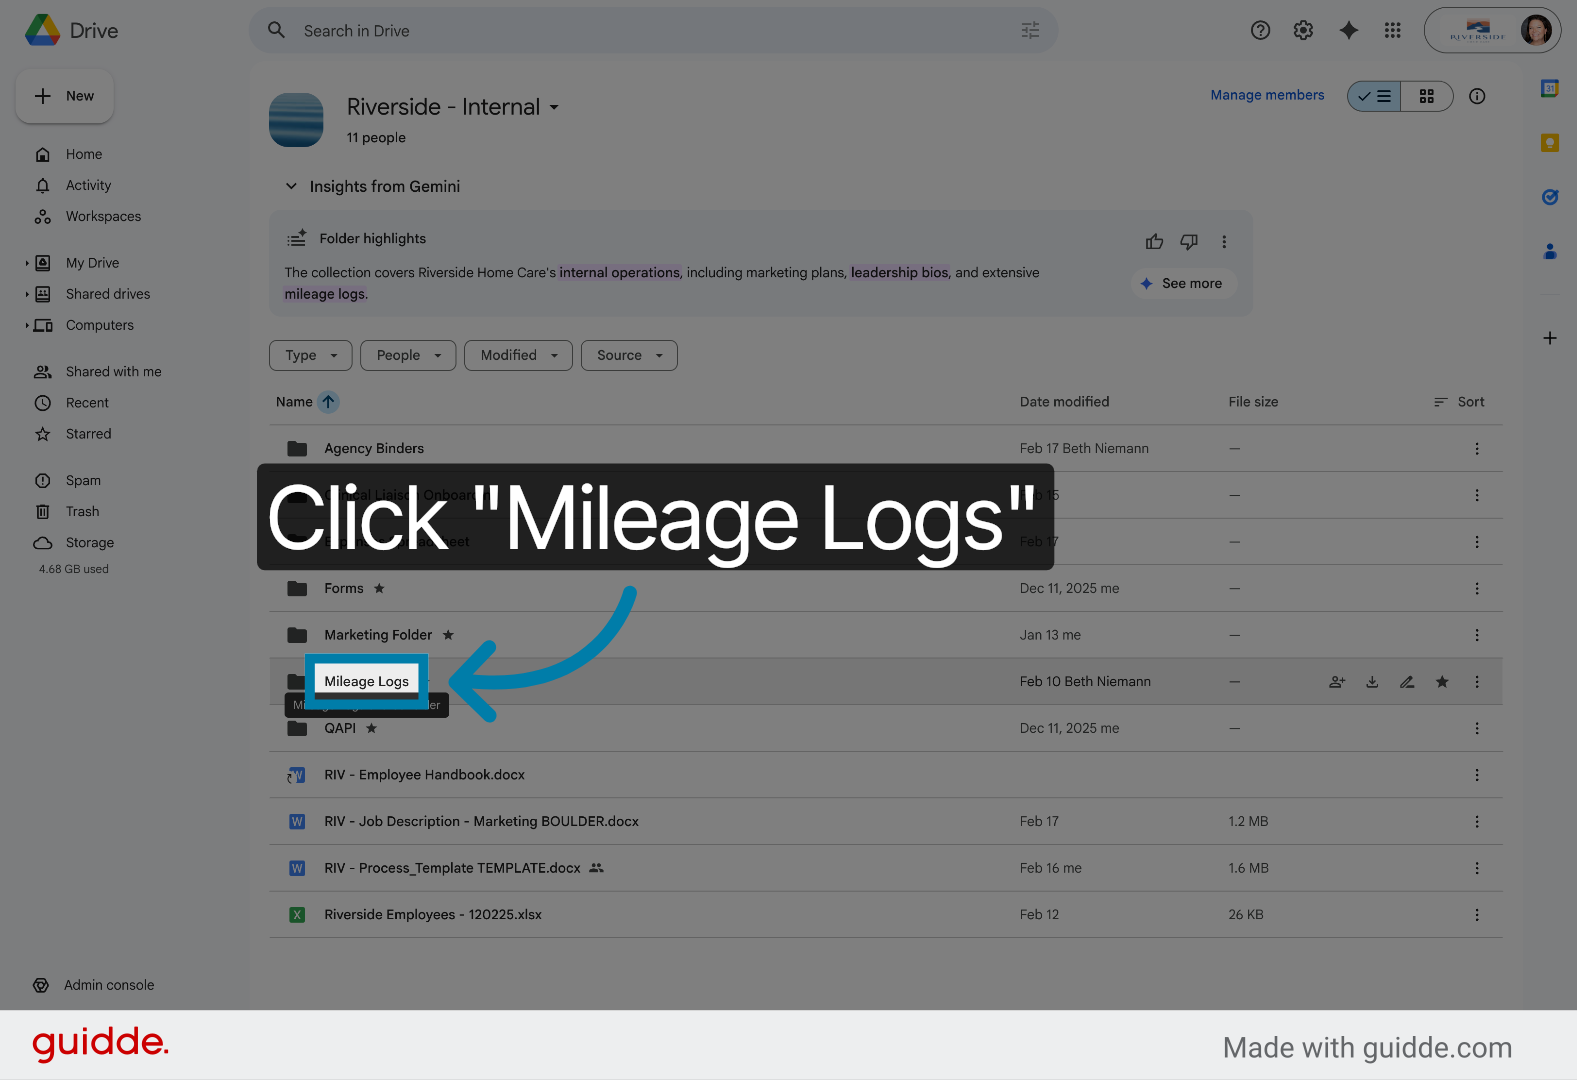
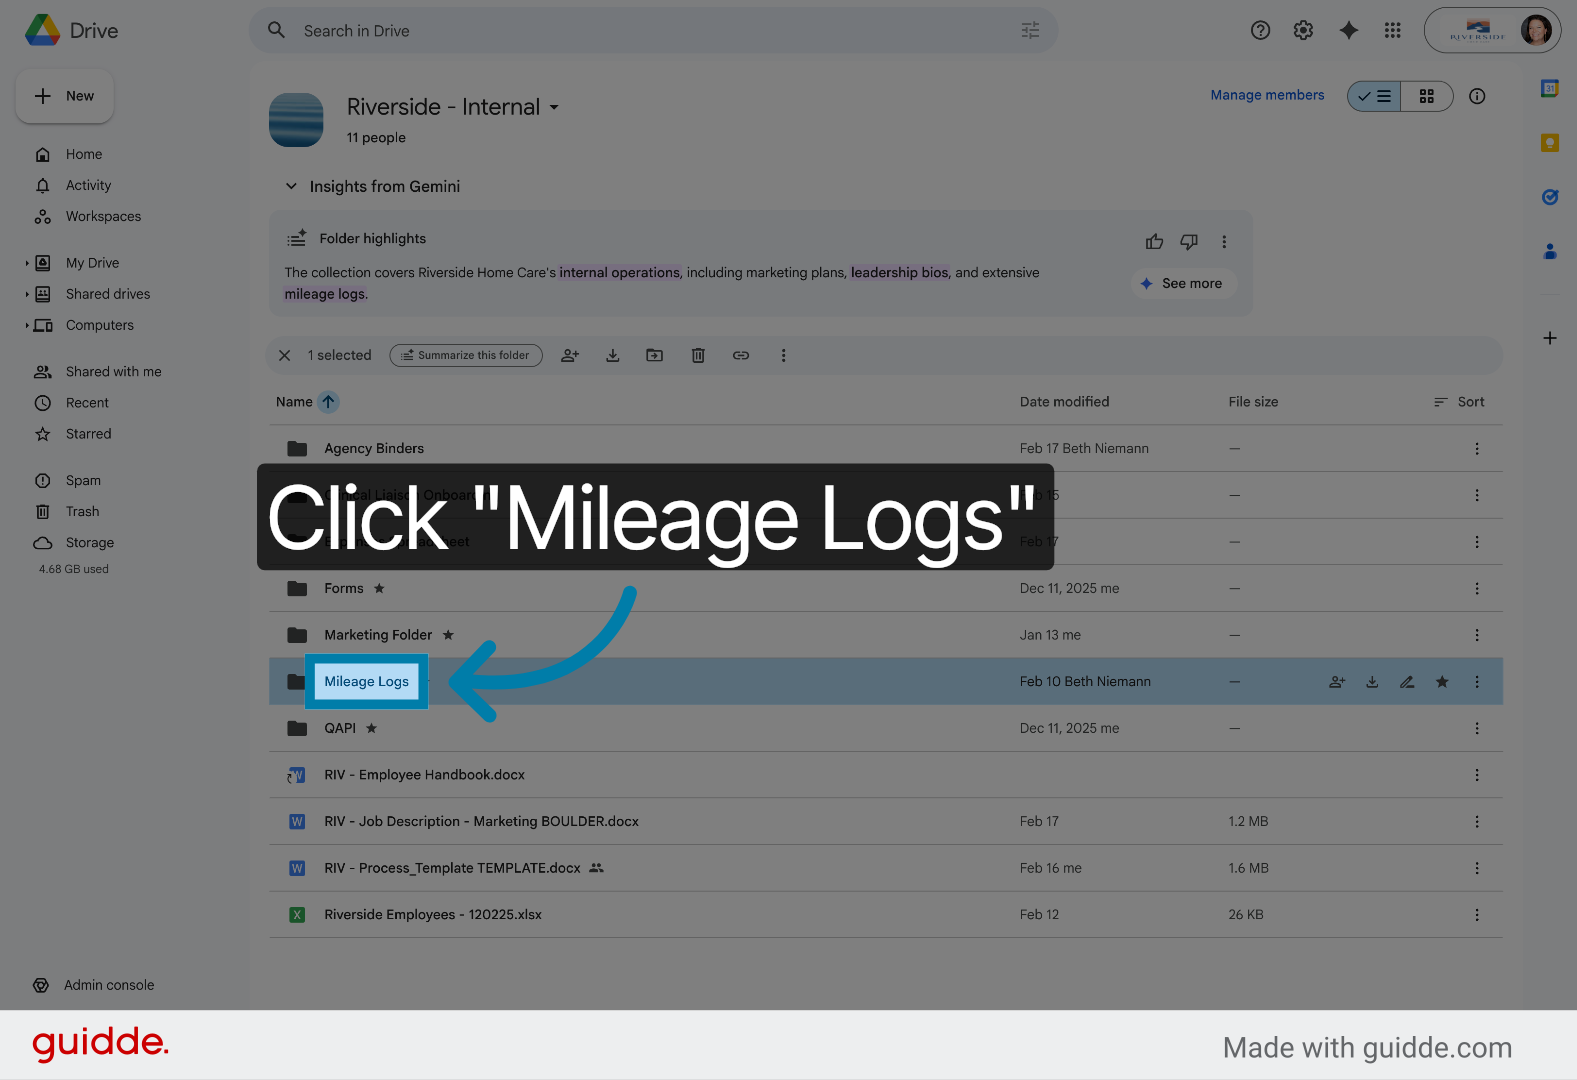
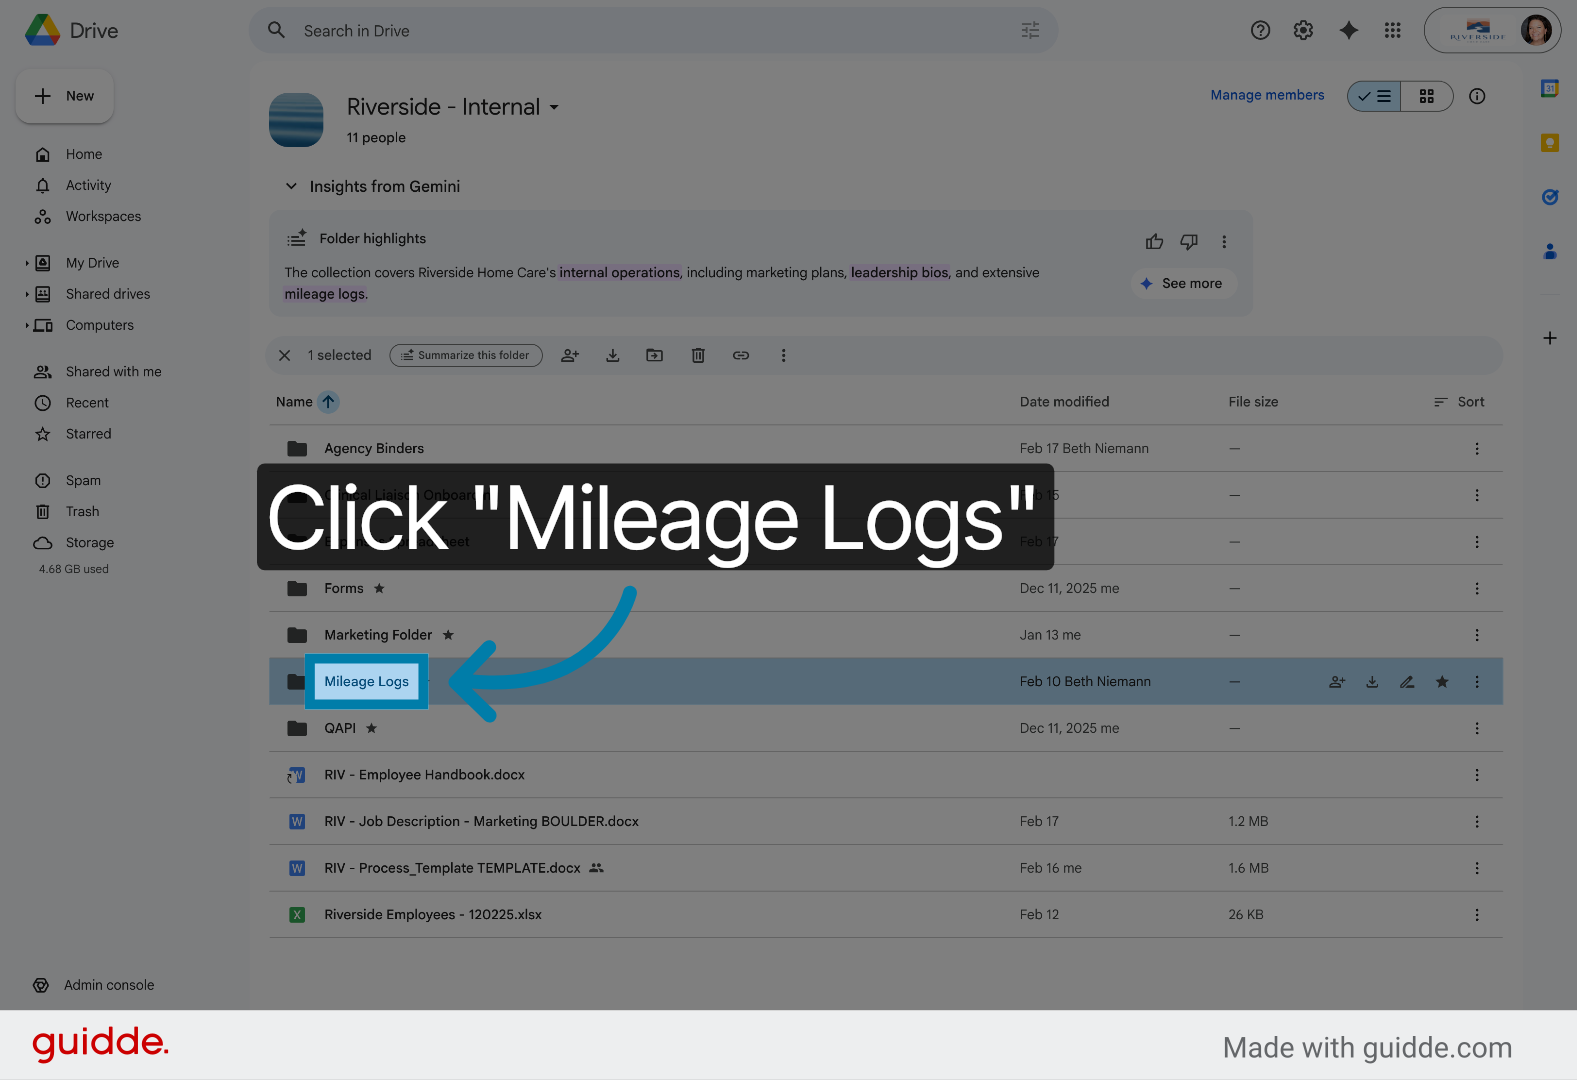
5. Open Mileage Logs Folder
Open the Mileage Logs folder within the Riverside - Internal shared drive.
6. Select Mileage Logs Folder
7. Confirm Mileage Logs Folder
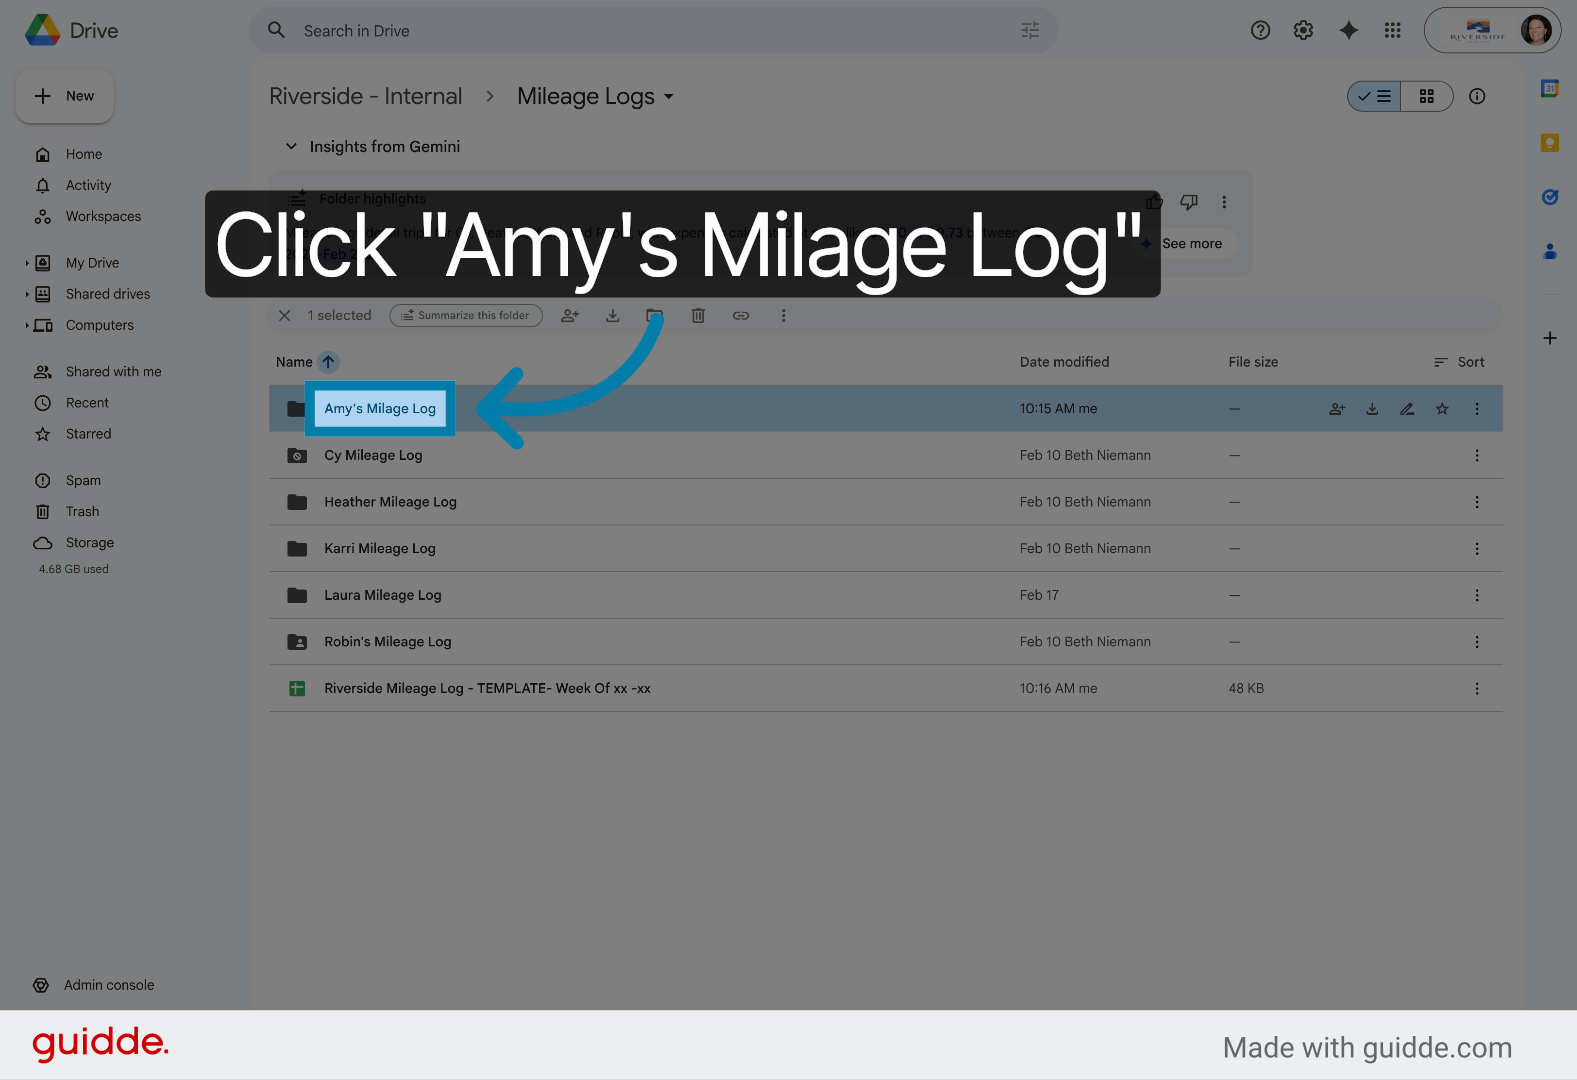
8. Open User Mileage Log
Open The Mileage Log Folder with your Name on it to review individual mileage entries.

9. Select User Mileage Log
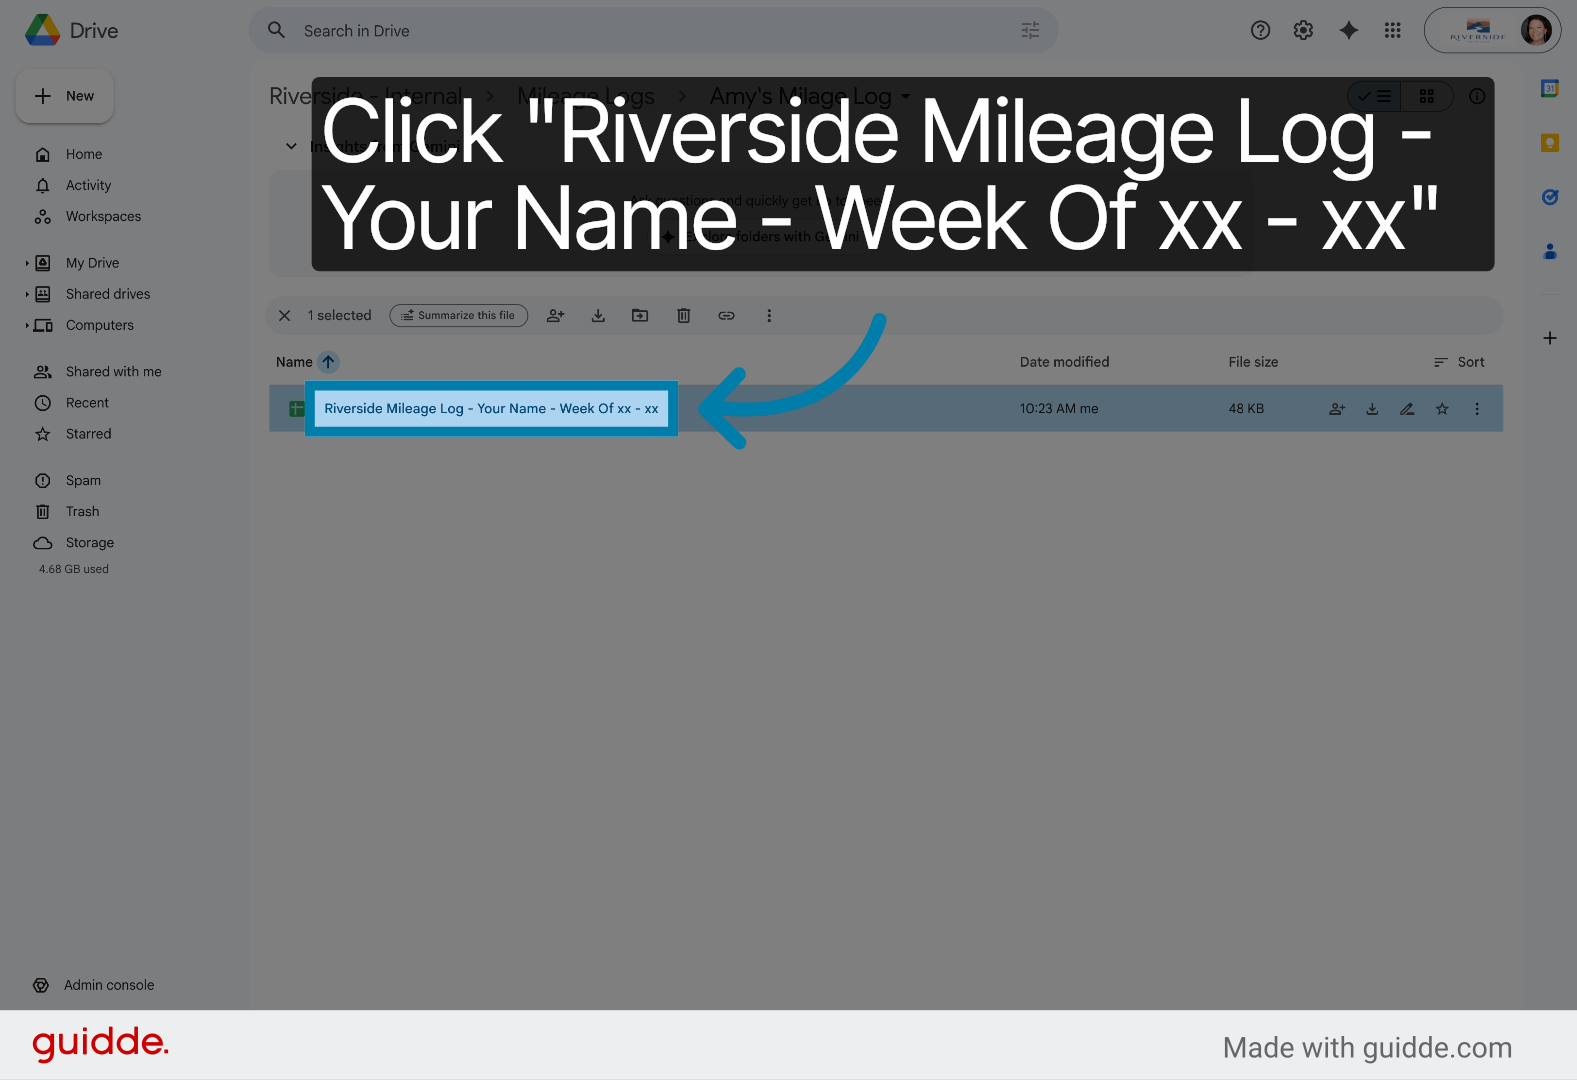
10. Open Weekly Mileage Log
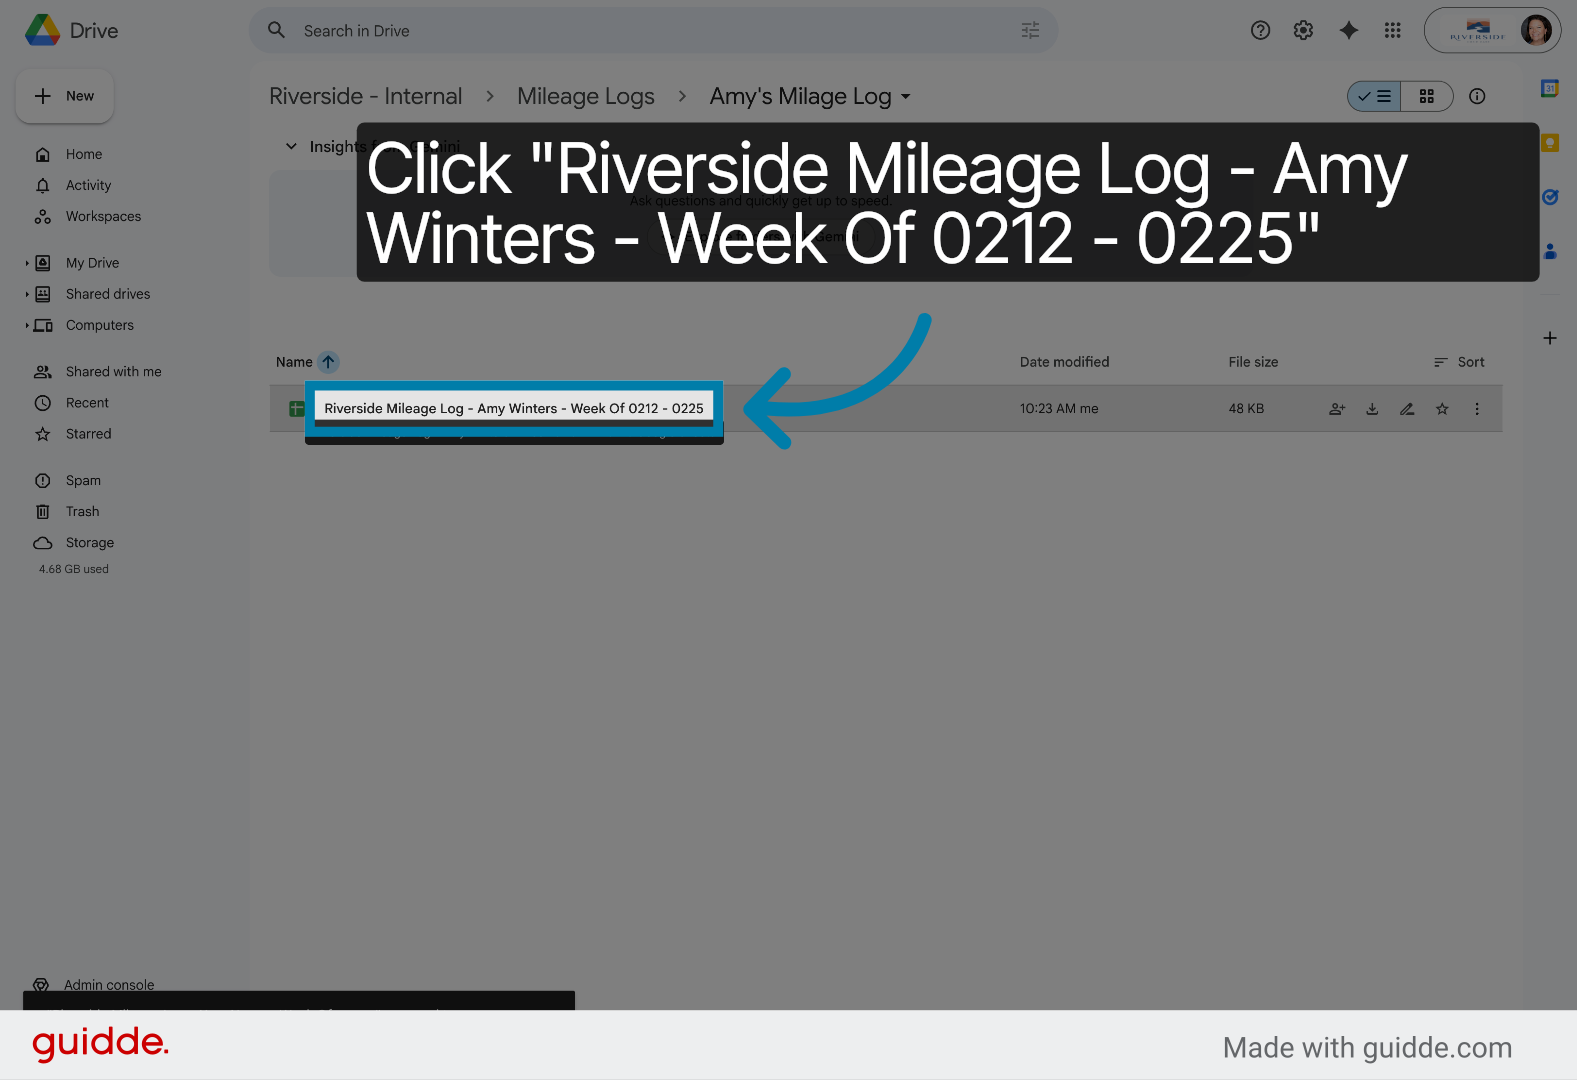
Open the weekly mileage log document titled Riverside Mileage Log - Your Name - Week Of xx - xx.
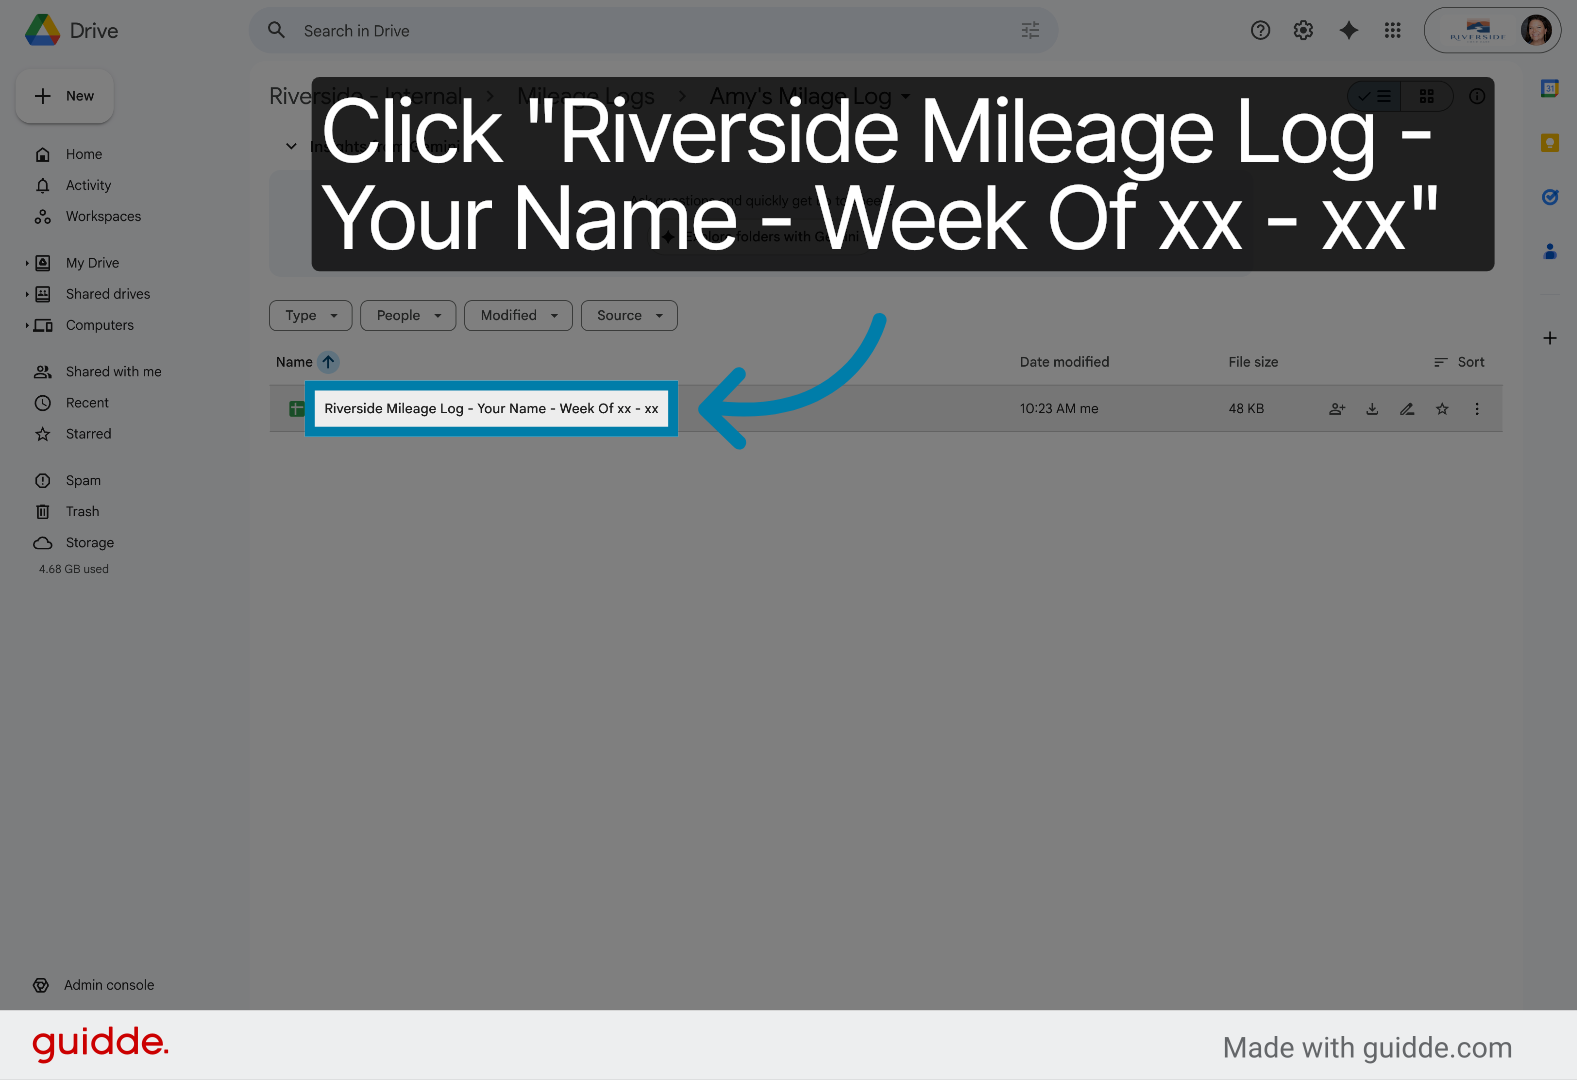
11. Select Weekly Mileage Log
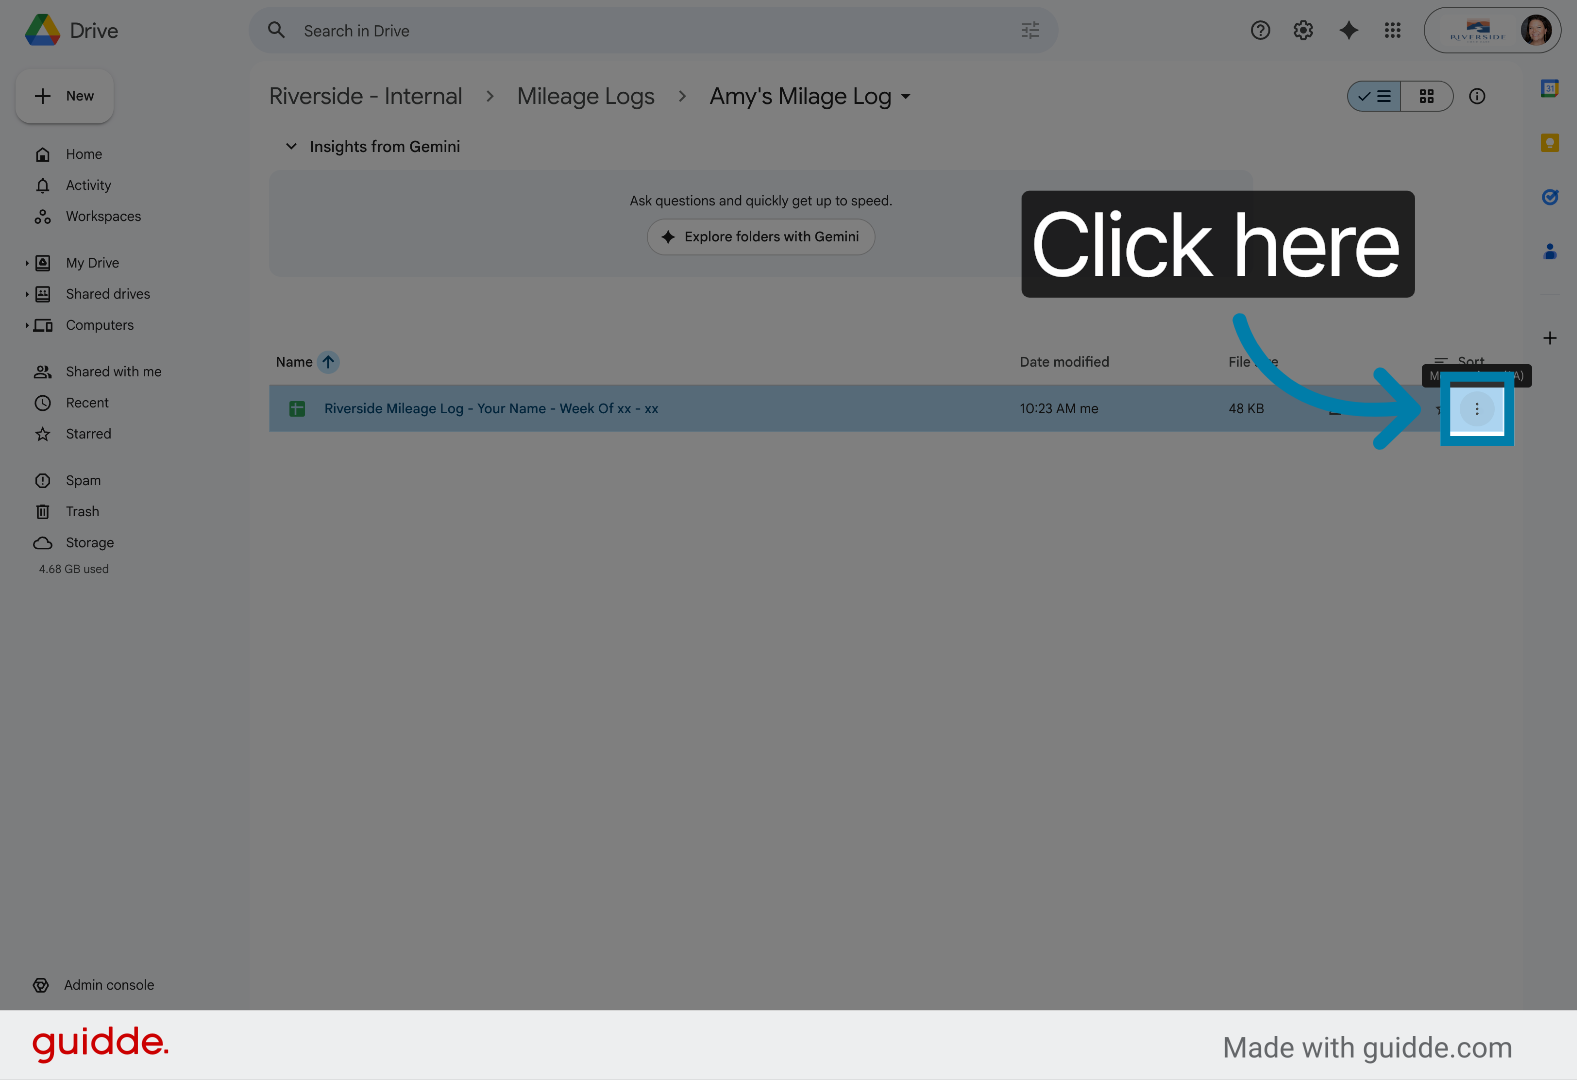
12. Access Options Menu
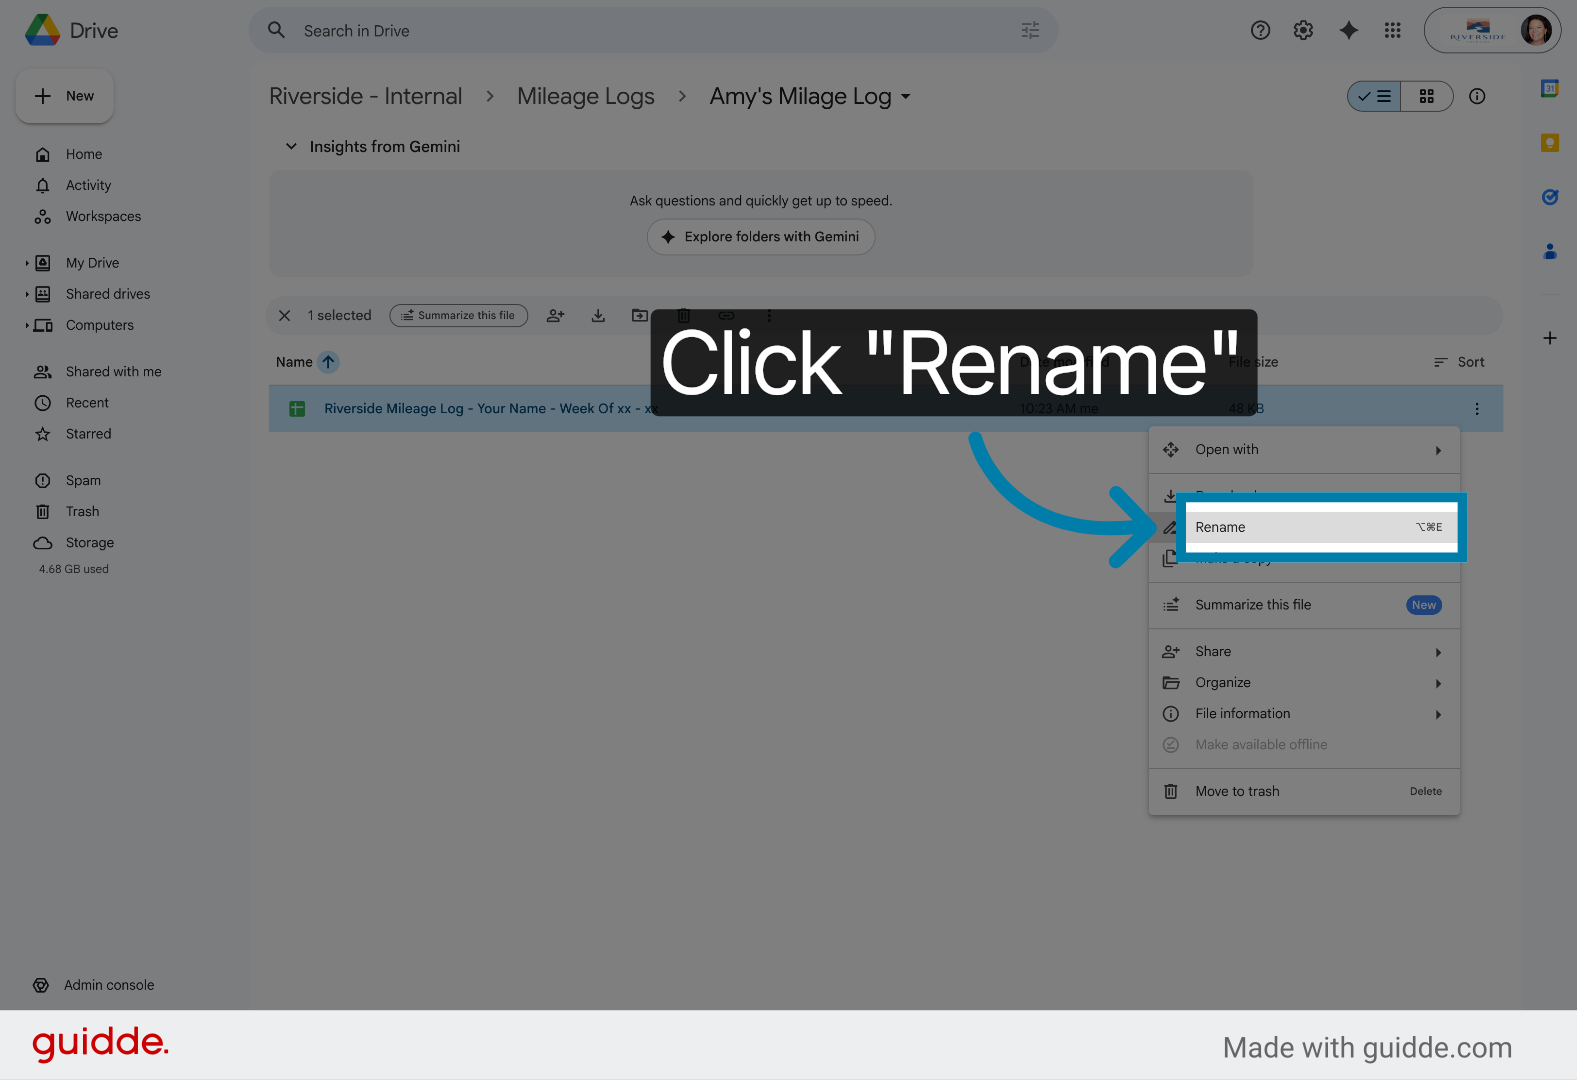
13. Choose Rename Option
Choose the Rename option to update the document title for clarity.
14. Select Current Document Name

15. Highlight Document Name
Highlight the existing document name to enable editing.
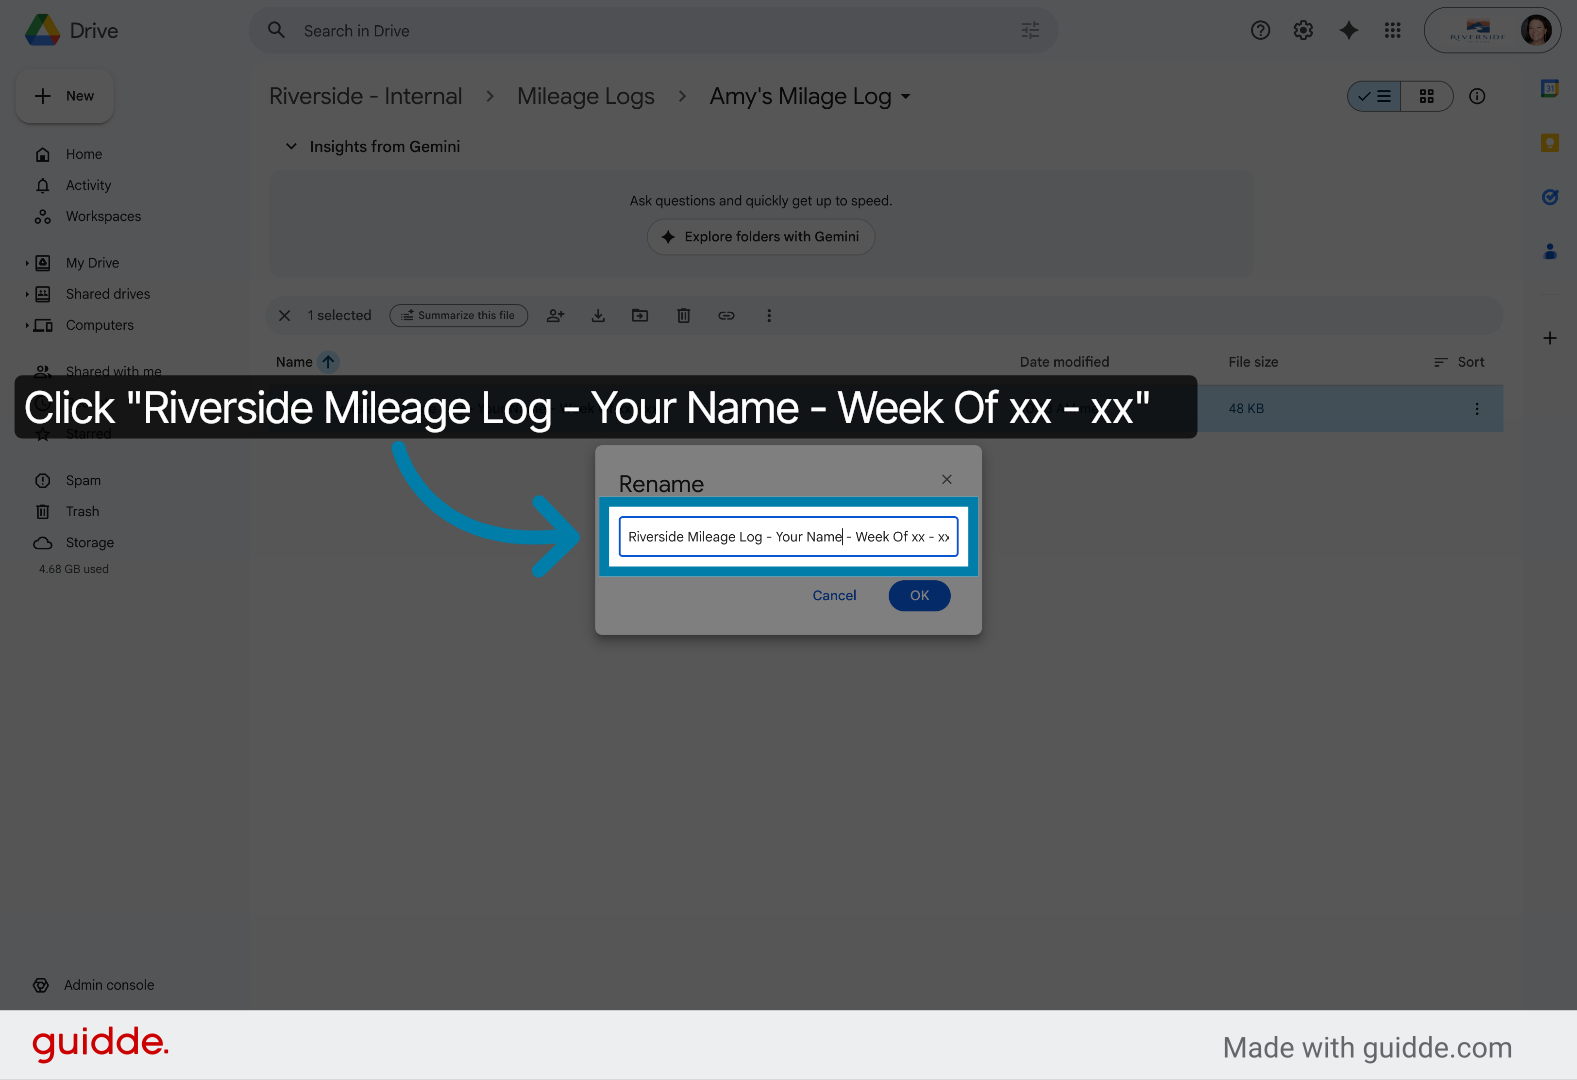
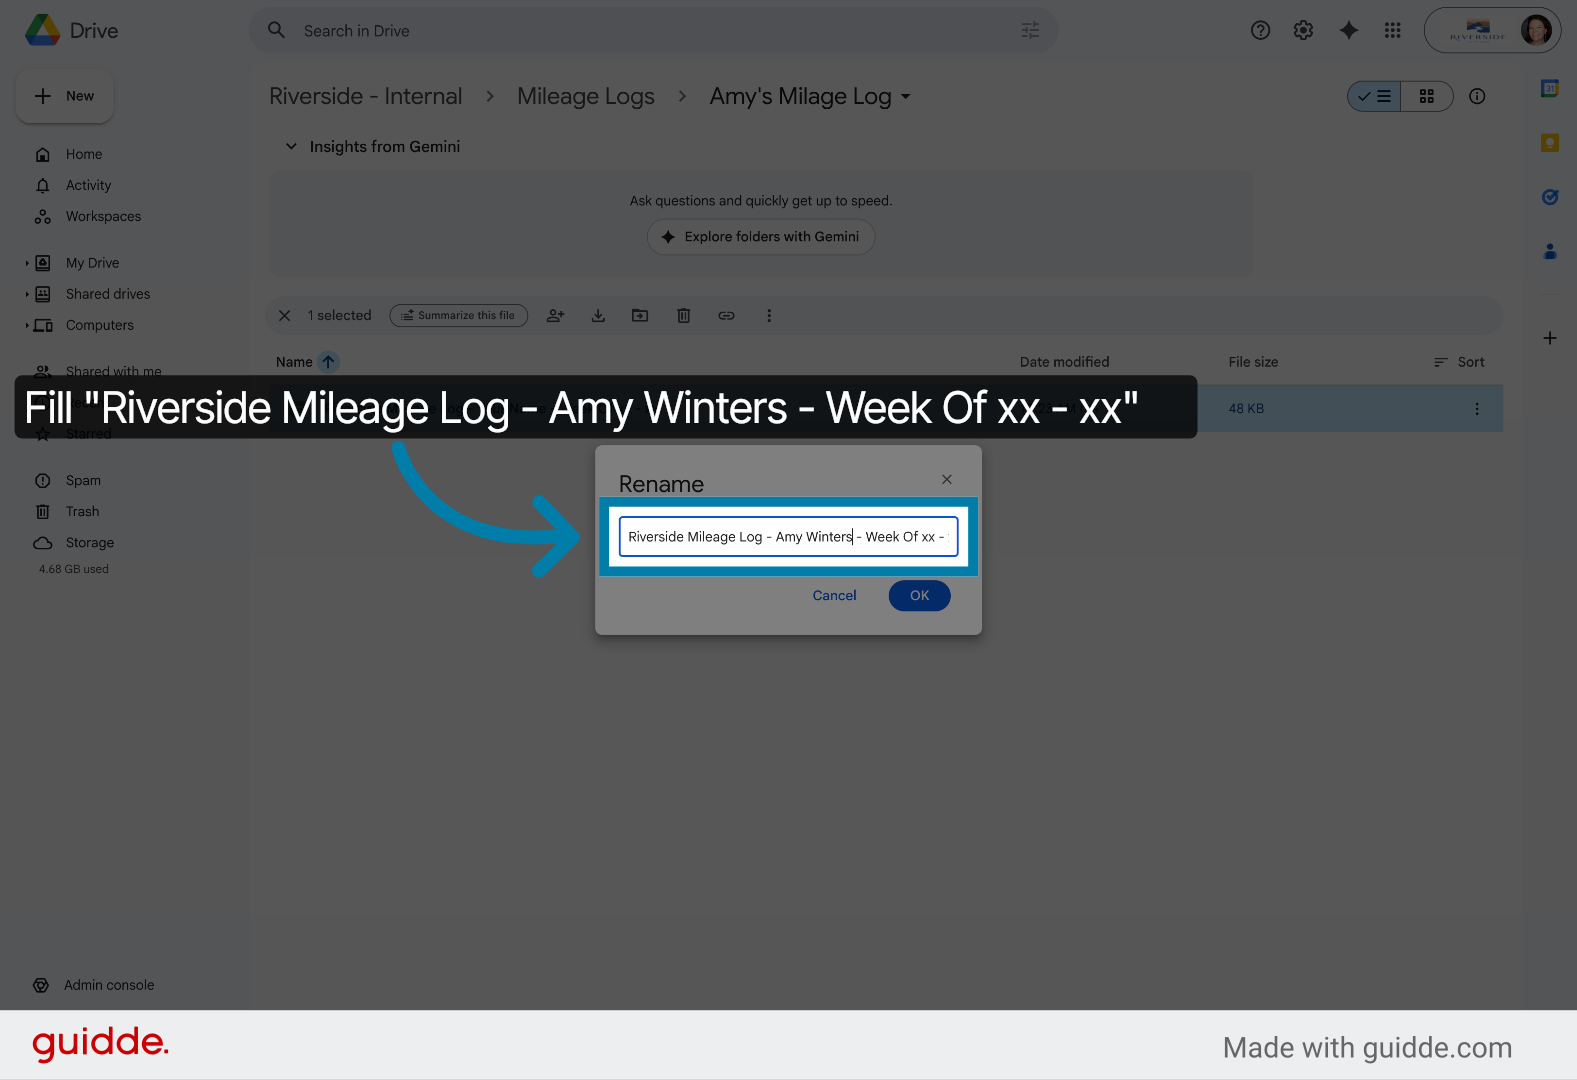
16. Enter Updated Document Name
Update the document name to include your name and with specific week dates to accurately reflect the mileage period. Be mindful of naming convention it is important that it remains the same.
17. Confirm Document Name

18. Fill Document Name With Dates

19. Select Updated Document
Select the updated mileage log document to proceed with further actions.

20. Fill Document Name For New Week
21. Select New Week Document

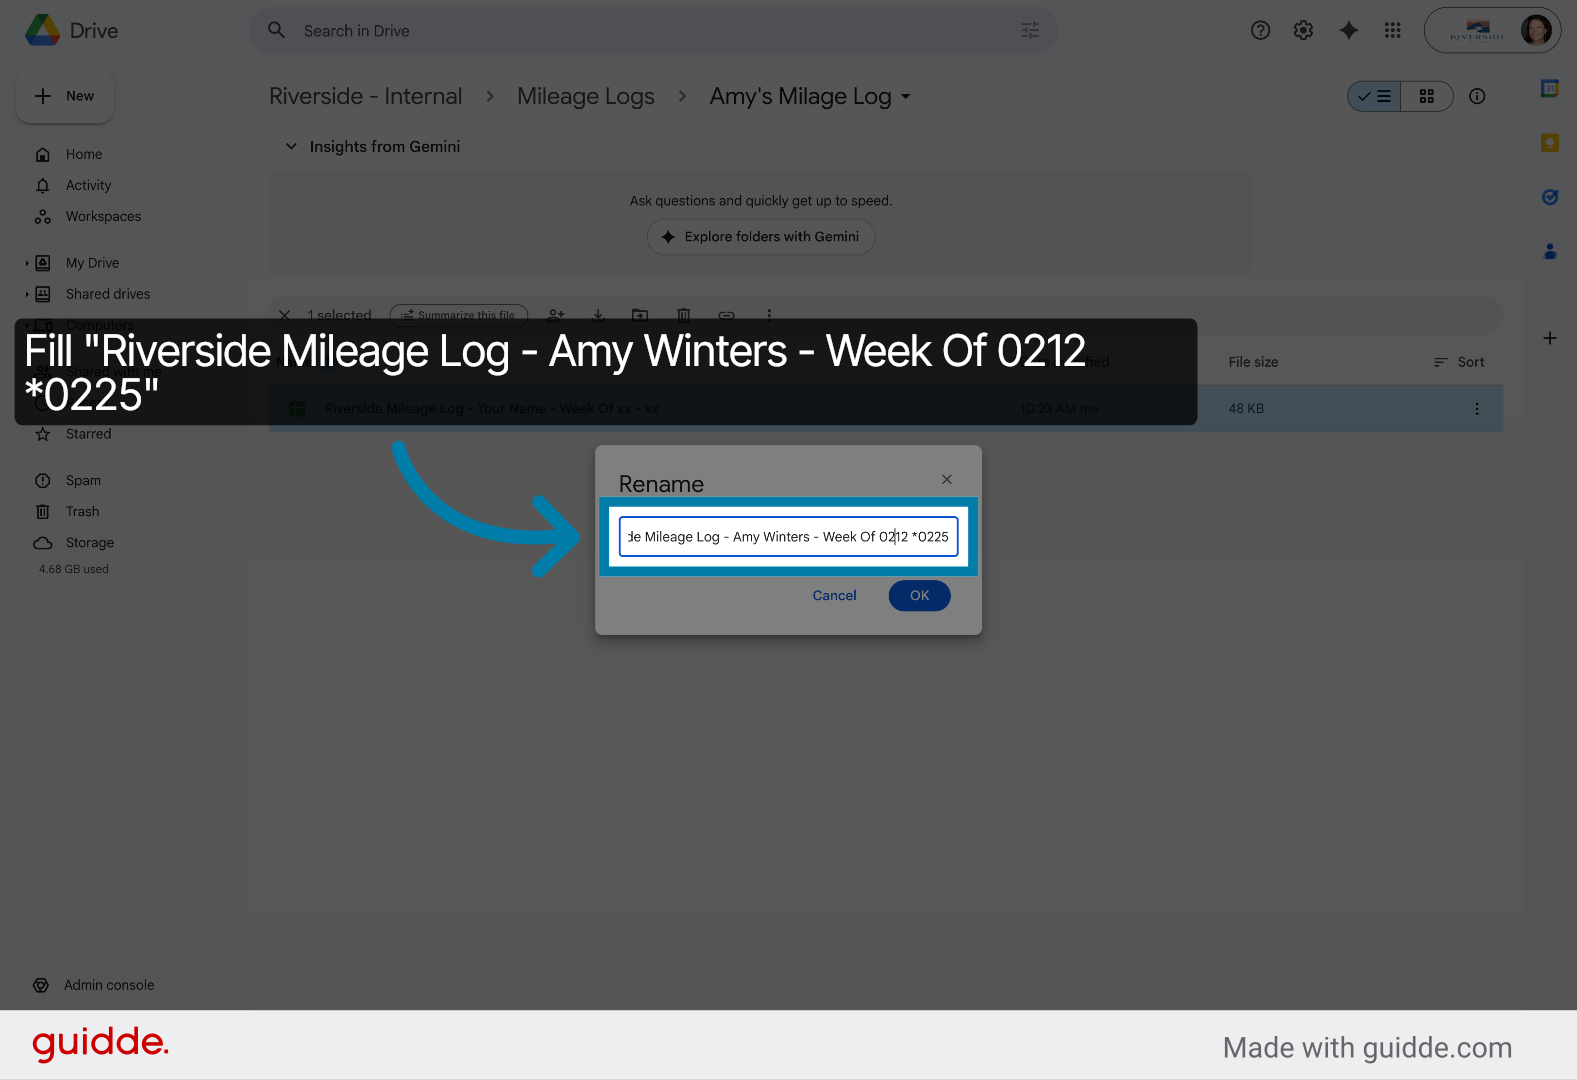
22. Fill Document Name Correctly
Fill the document name with the correct week range to maintain accurate records.

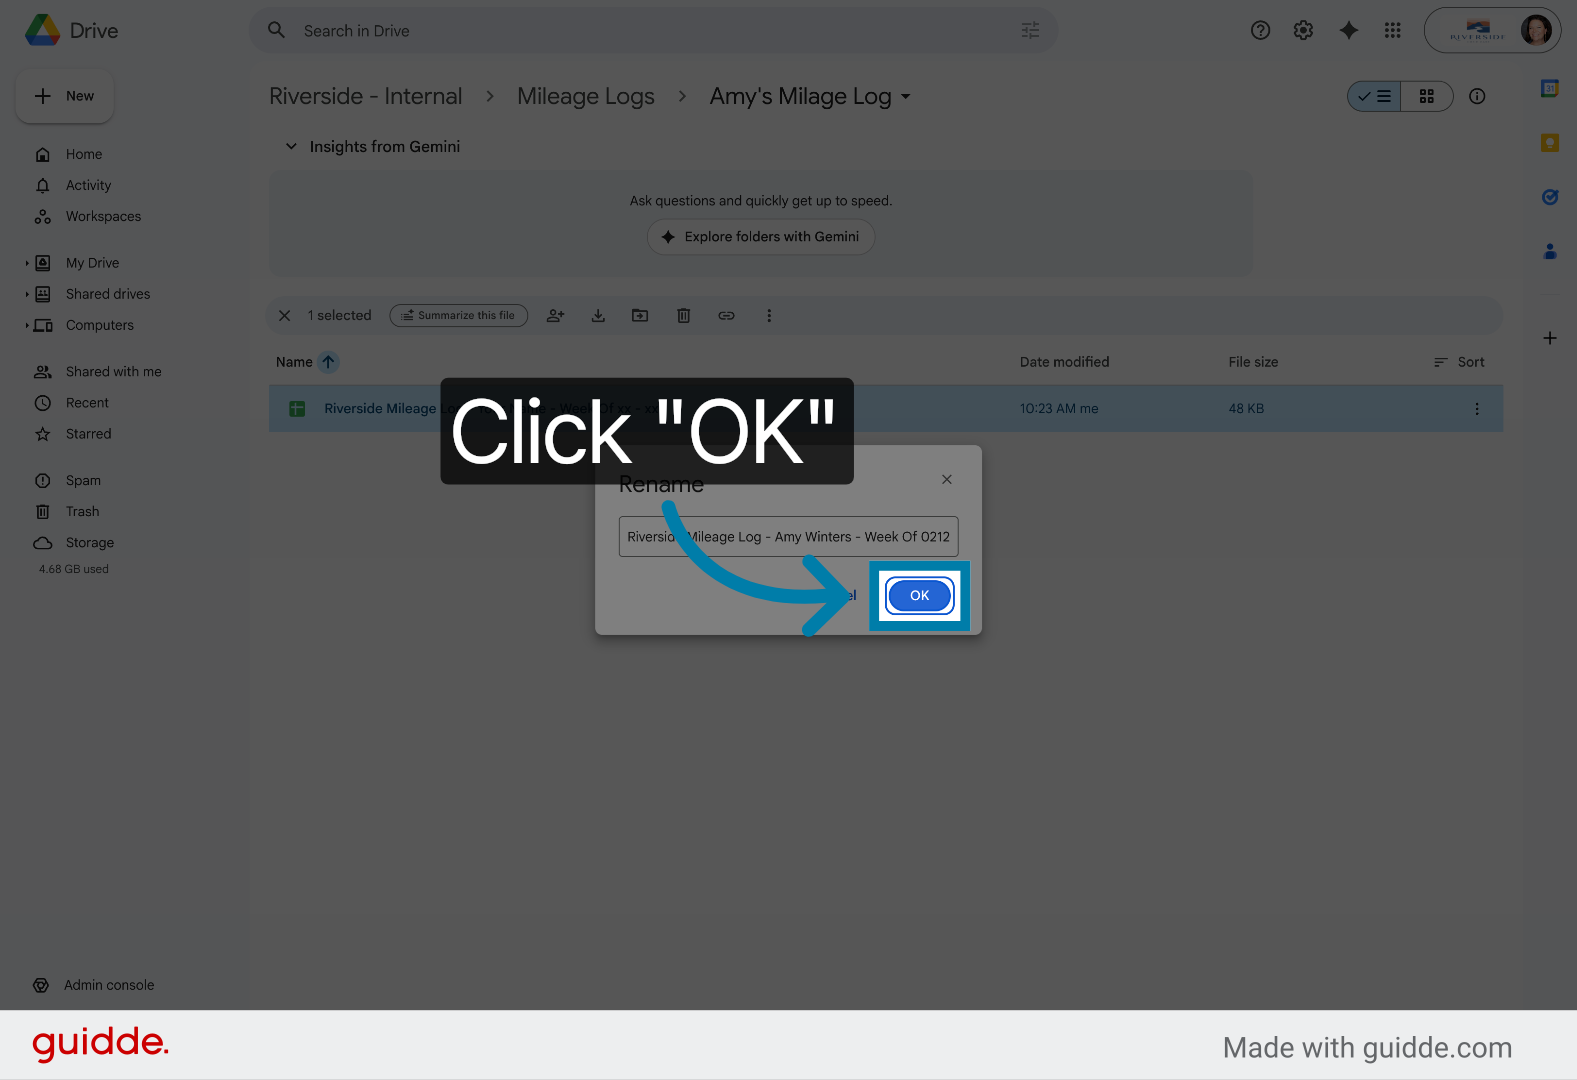
23. Confirm Rename Action
Click OK to confirm the renaming of the mileage log document.
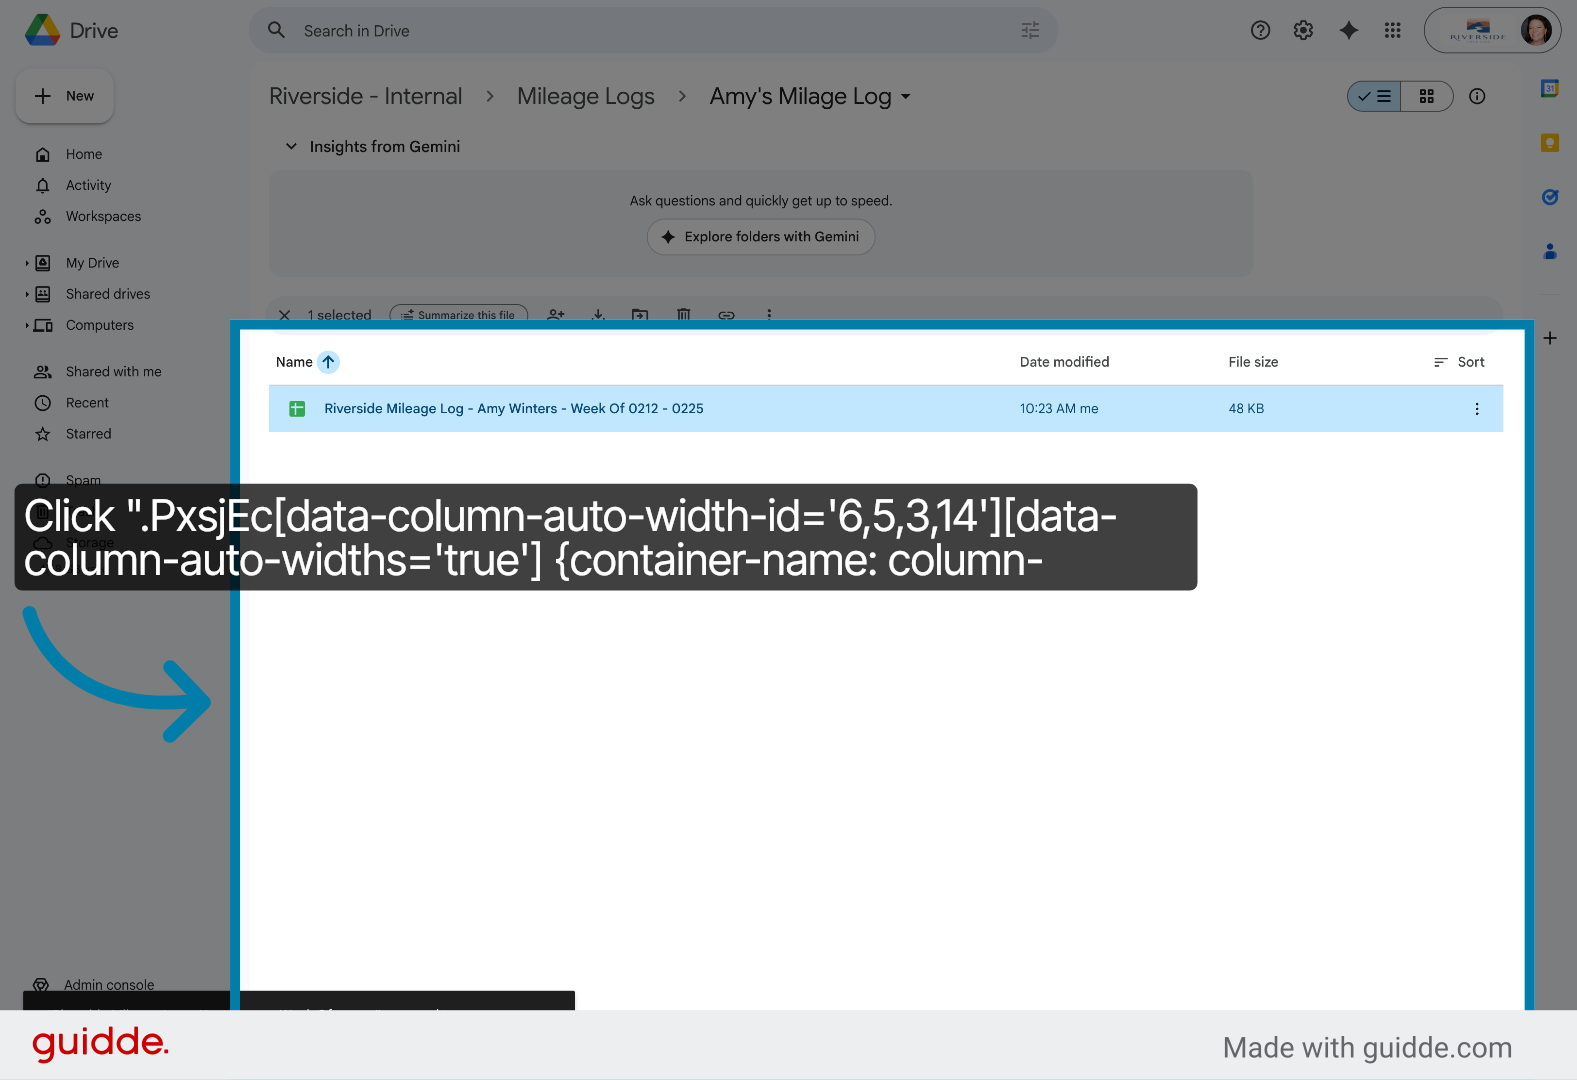
24. Select Mileage Log Entry
Click the mileage log entry to access detailed mileage data.
25. Open Updated Mileage Log
Open the updated mileage log document for review or editing.
26. Switch To Google Sheets
27. Access Mileage Log Sheet

28. Open Mileage Data Section
29. Navigate To Data Entry Area
30. Select Data Input Cell
Click here to select the cell for entering odometer readings.

31. Enter Odometer Label
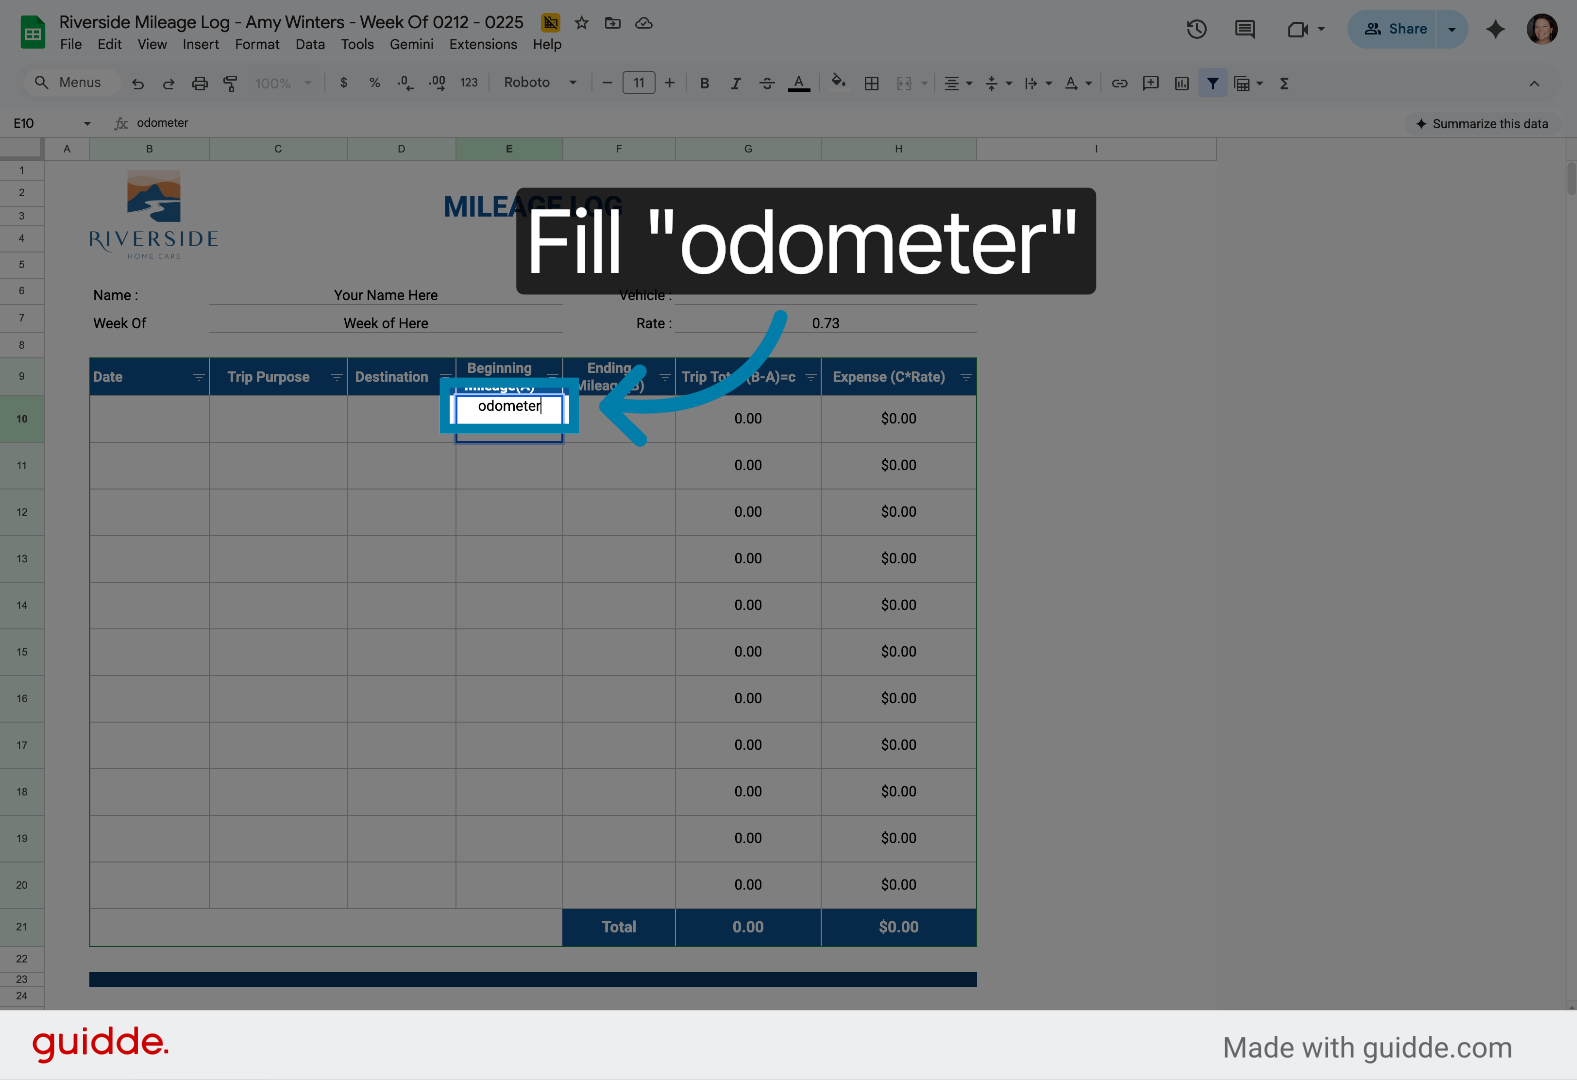
32. Select Odometer Field
Click the odometer field to prepare for data entry.
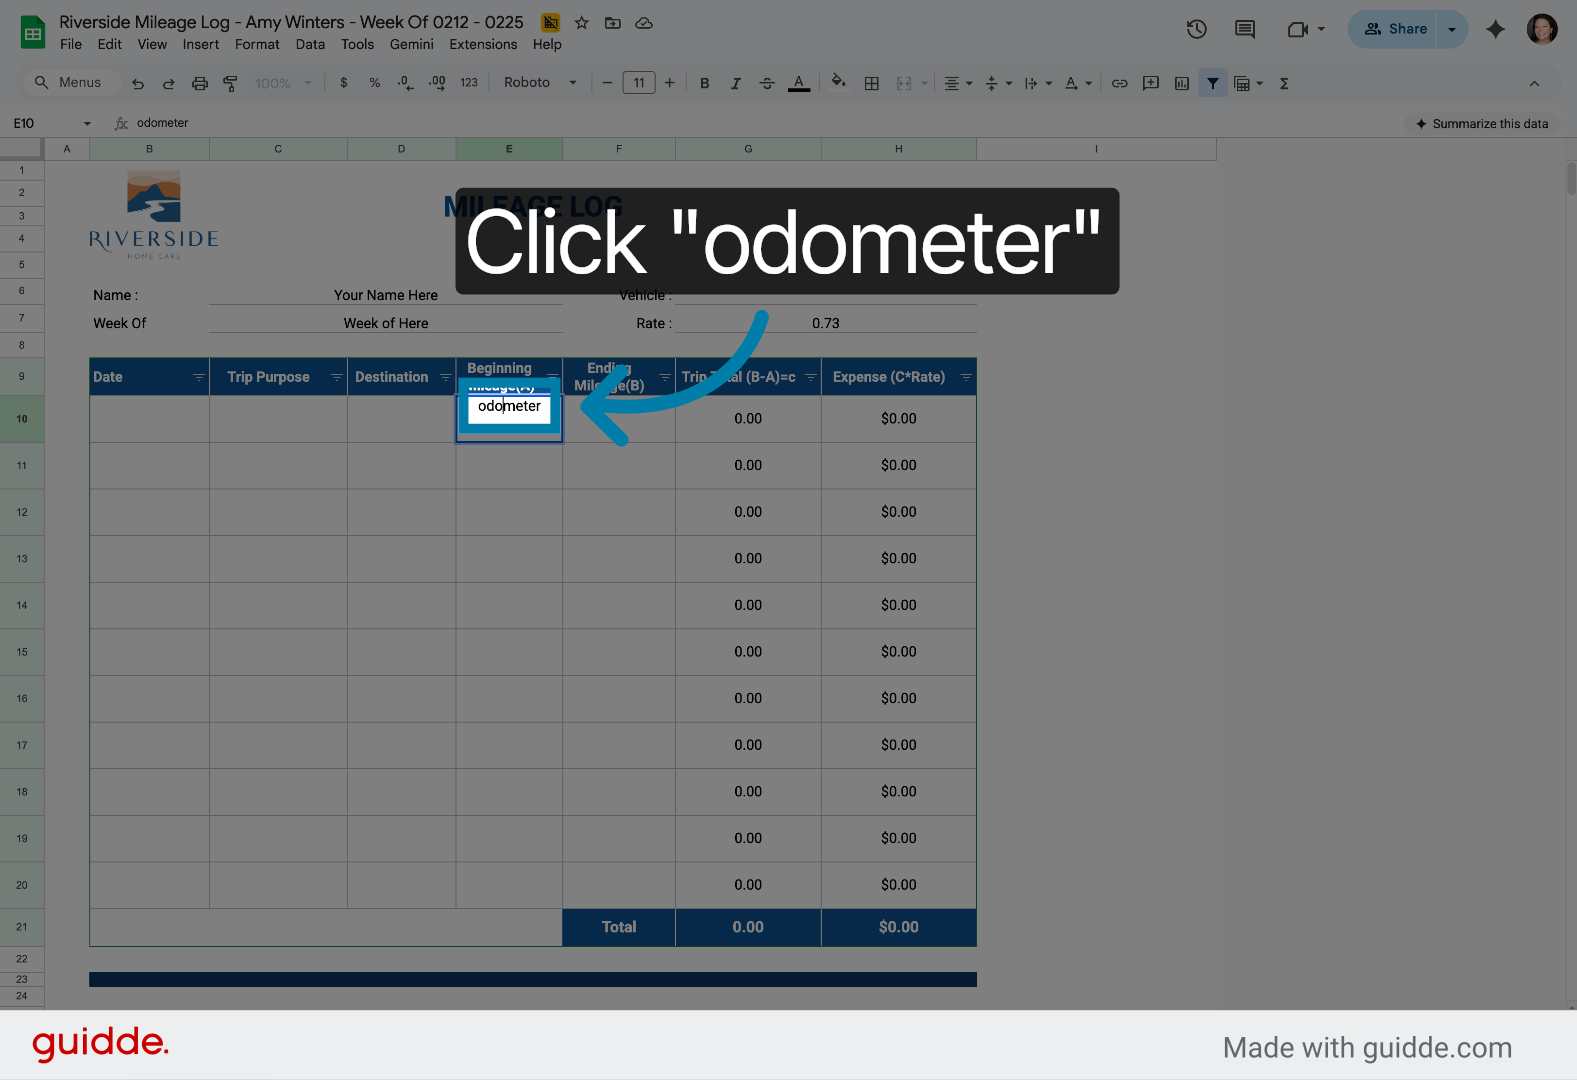
33. Confirm Odometer Selection

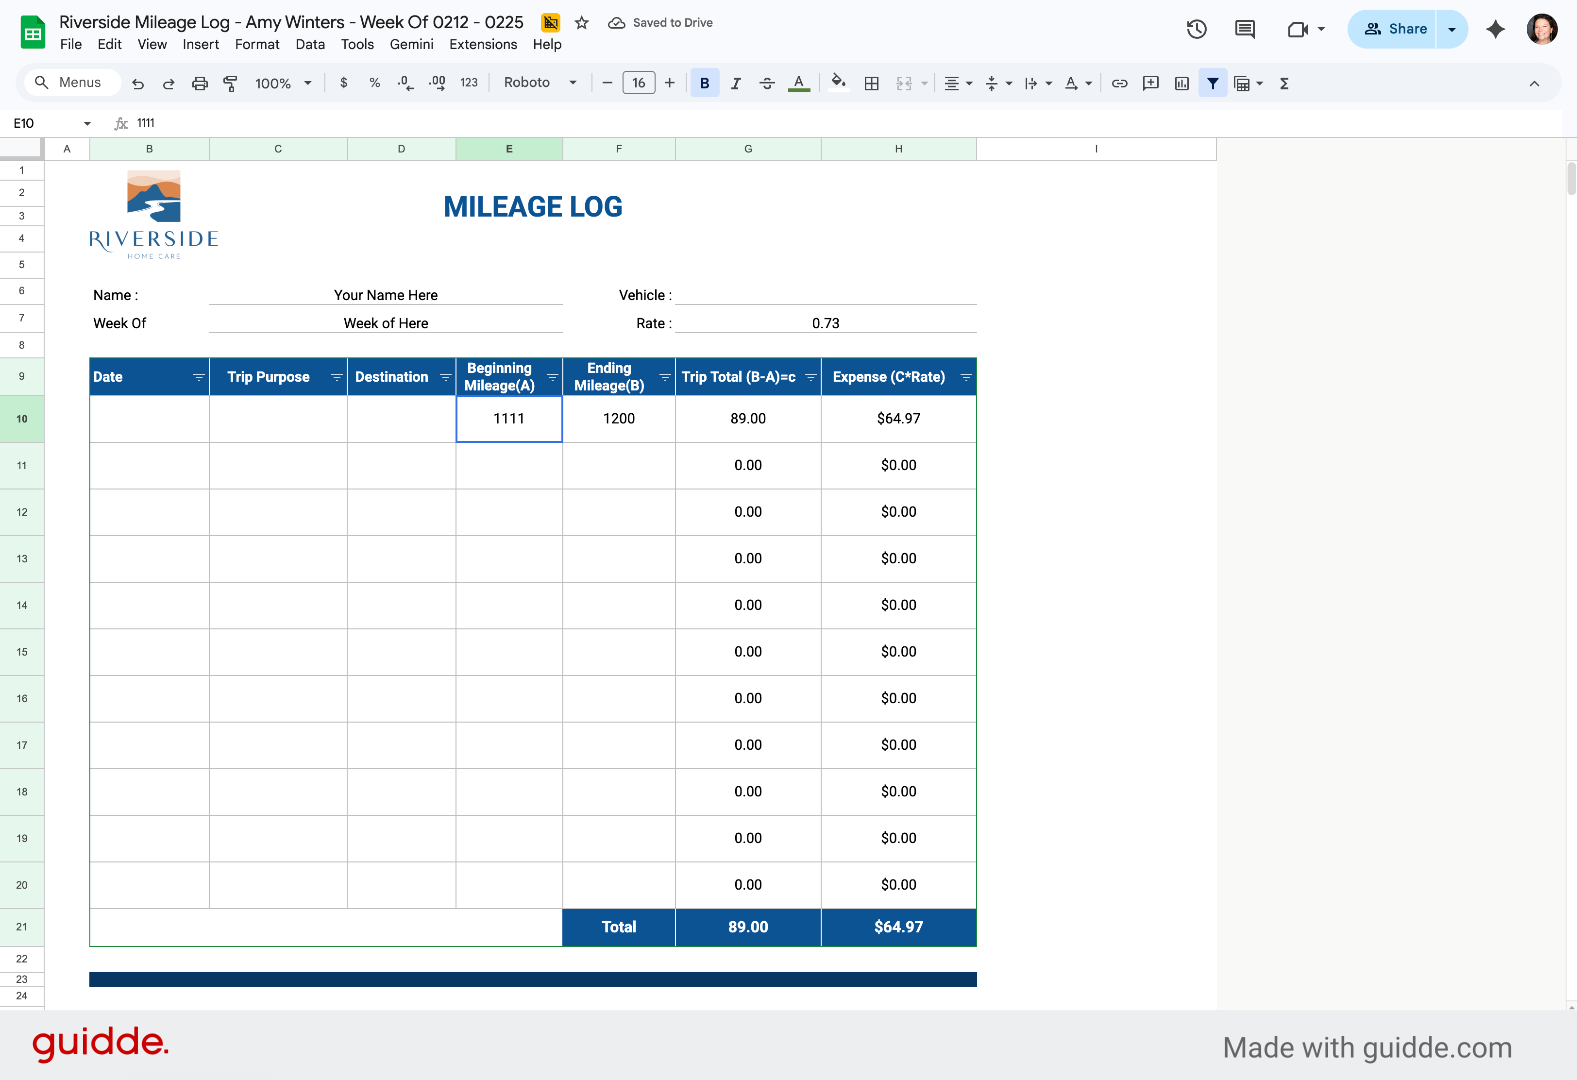
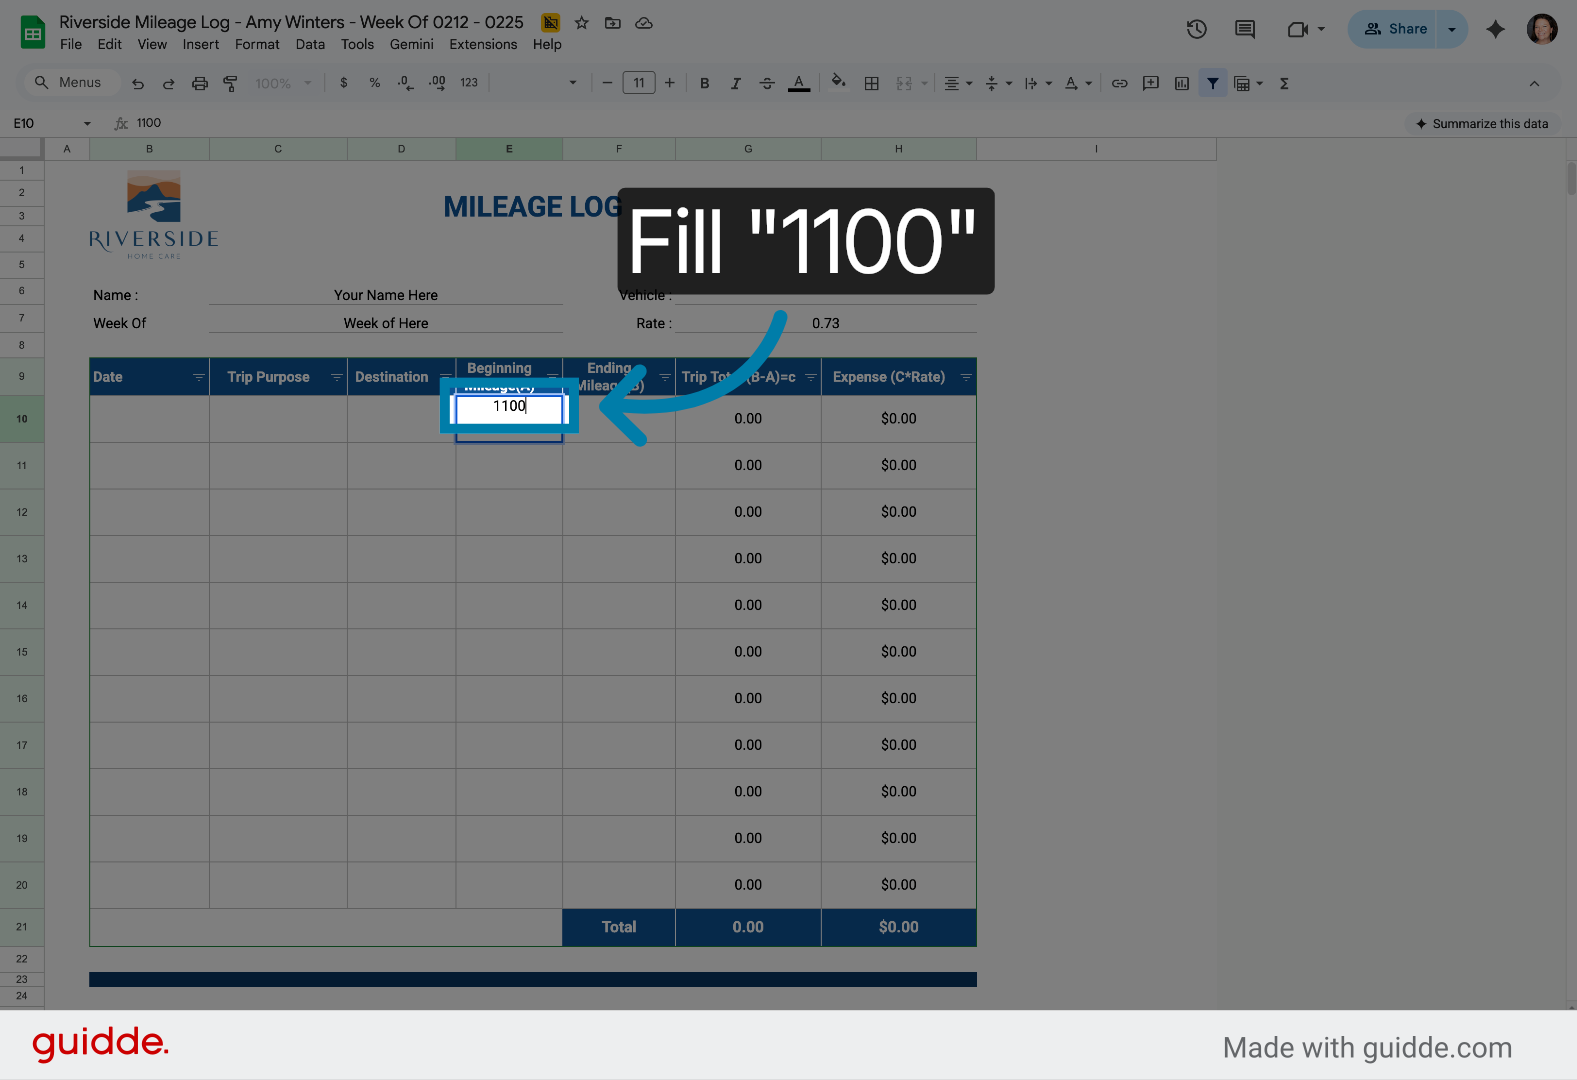
34. Enter Starting Odometer
Fill in the starting odometer reading to begin mileage tracking.
35. Access Next Data Cell
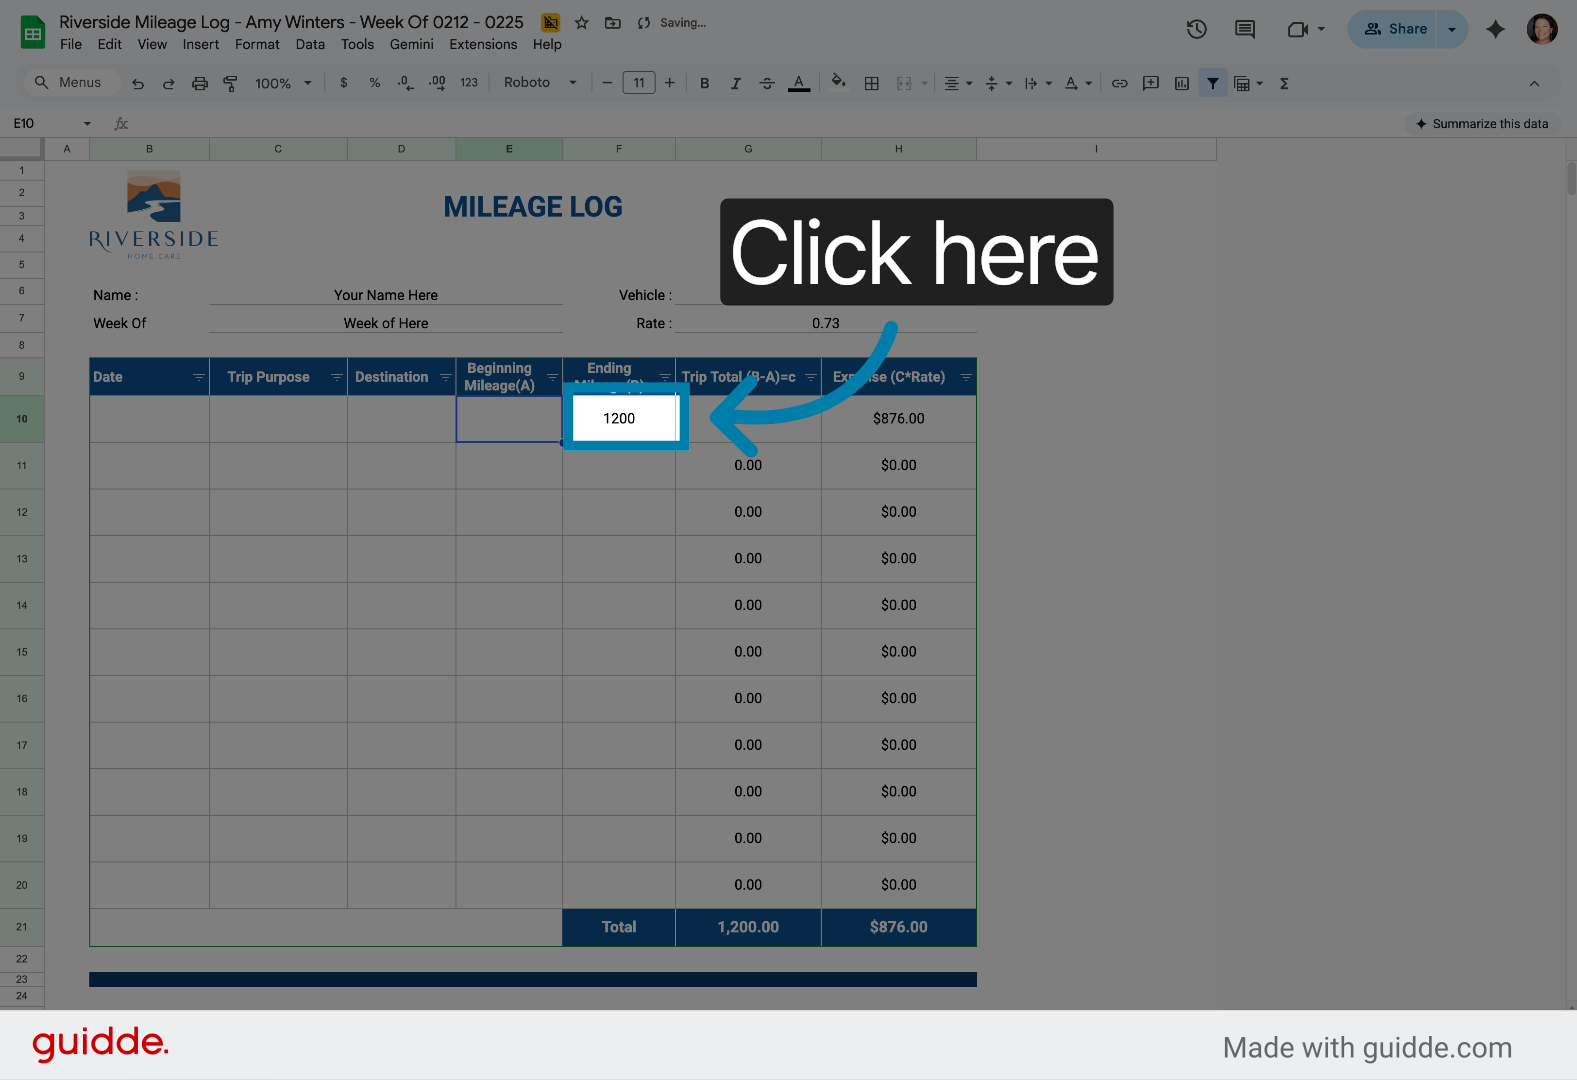
Click here to move to the next data entry cell for ending odometer reading.
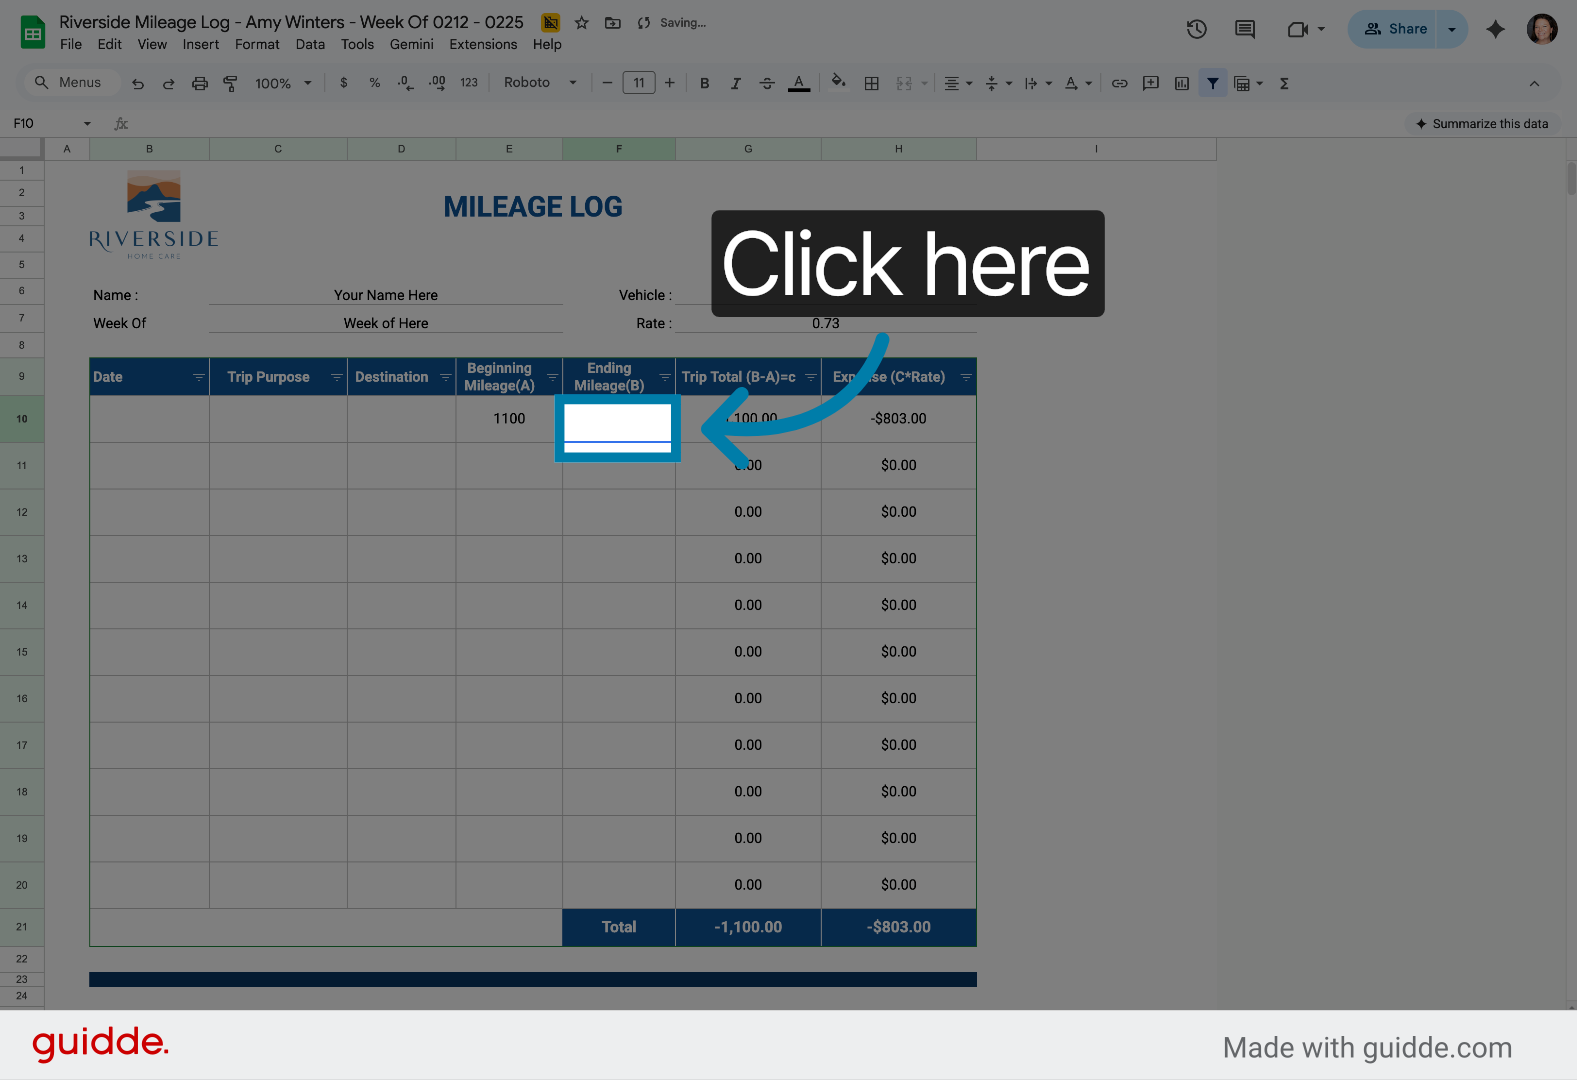
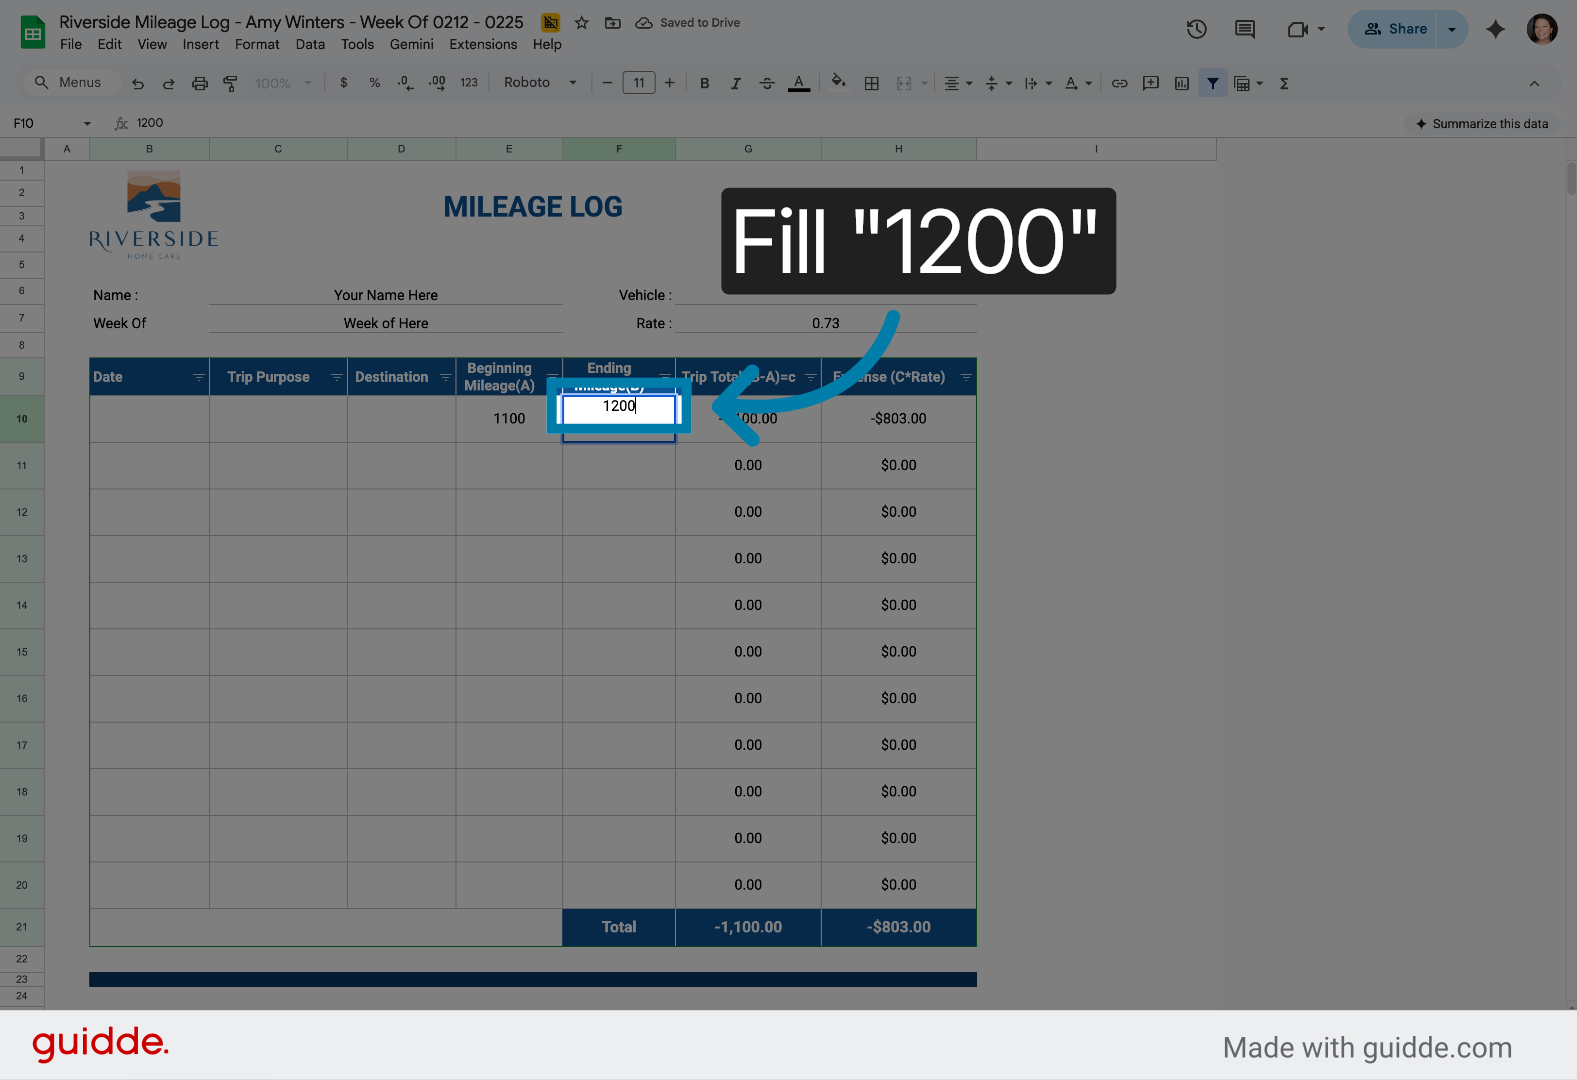
36. Enter Ending Odometer
Fill in the ending odometer reading to complete mileage calculation.
37. Select Confirmation Cell
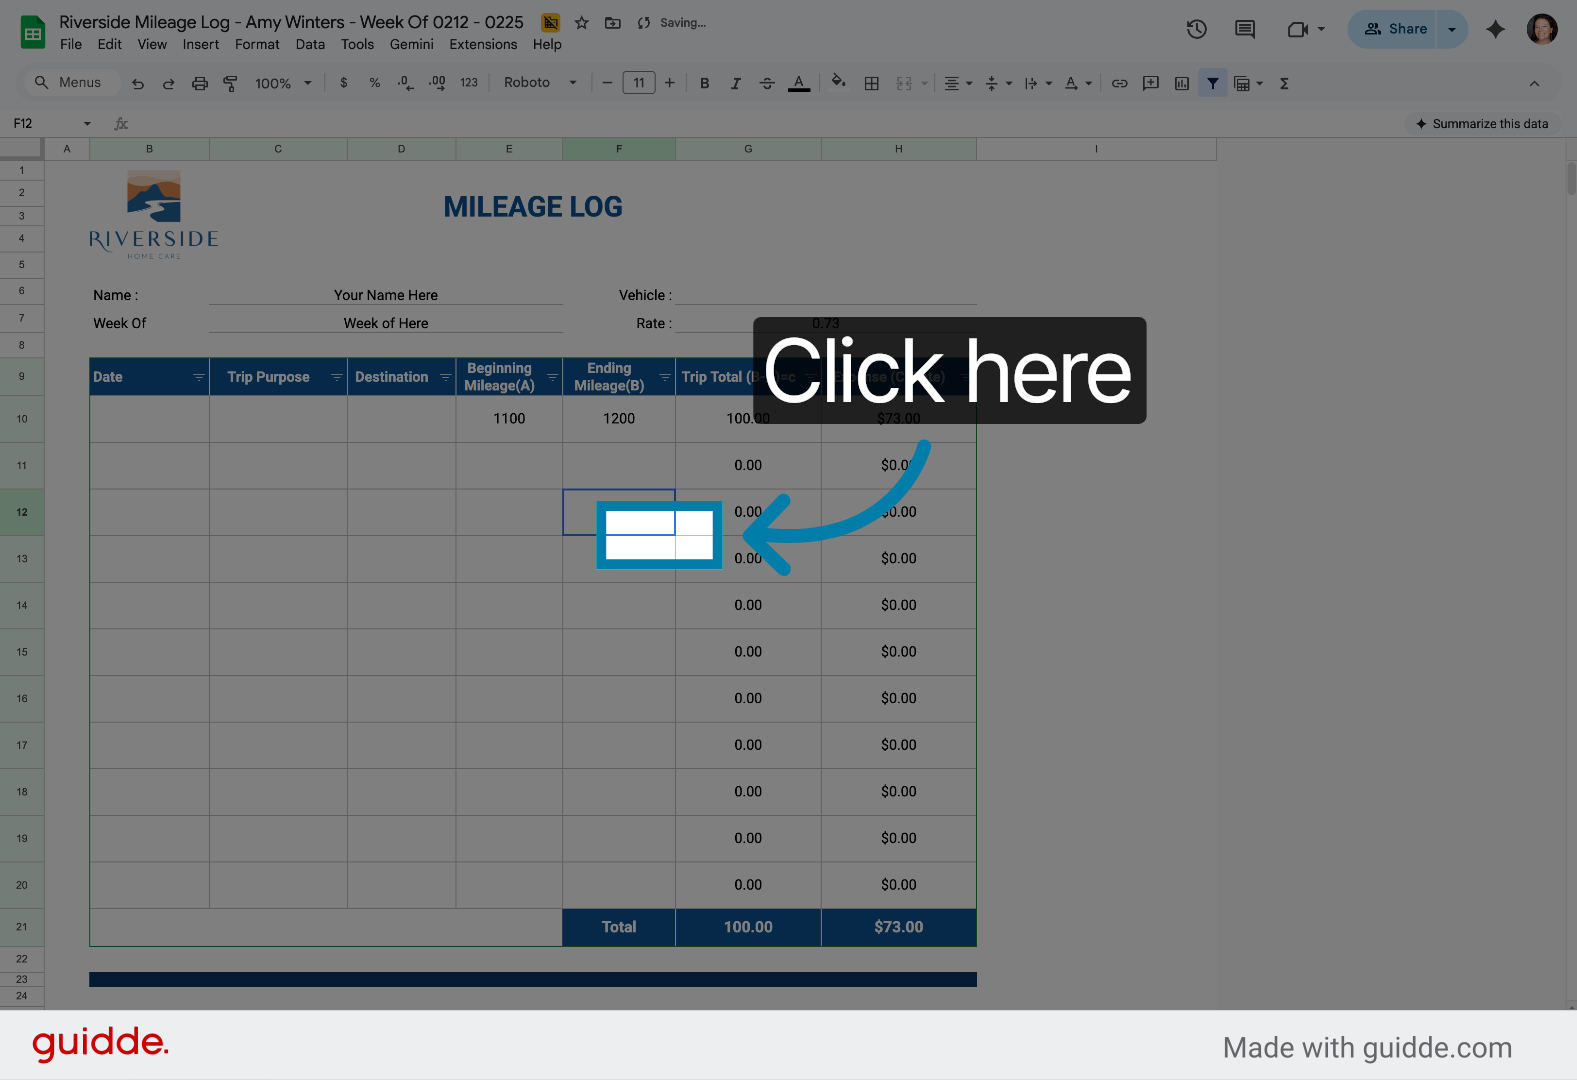
38. Access Final Data Cell
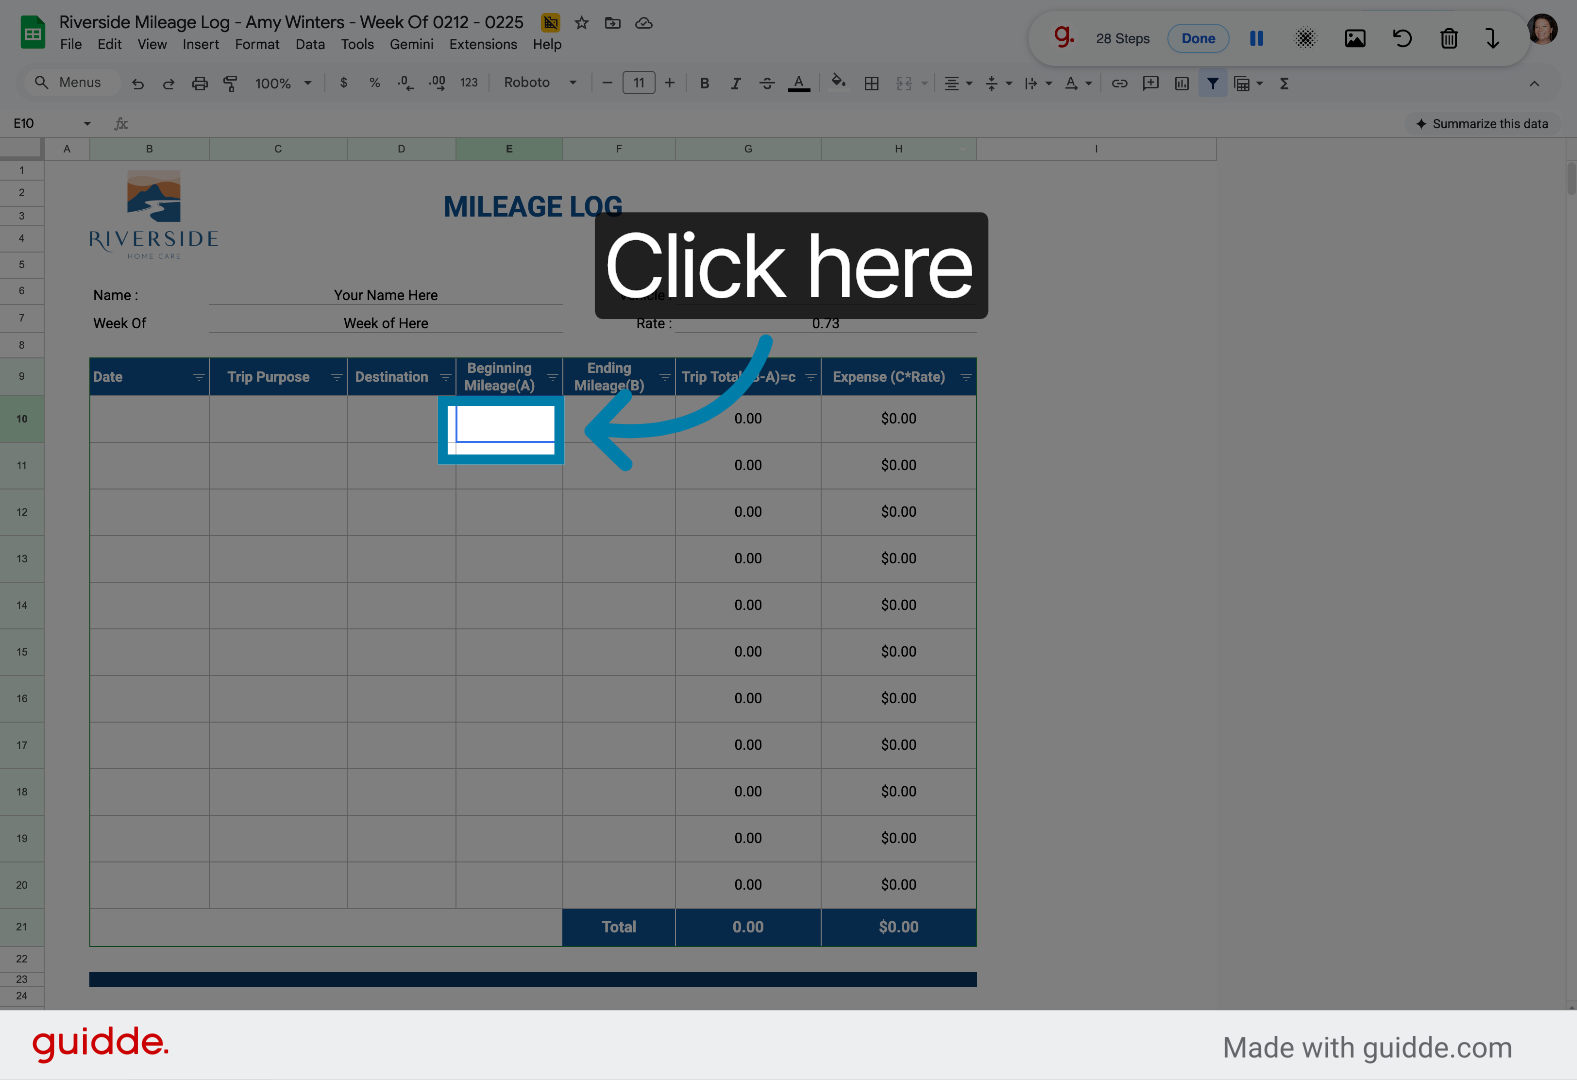
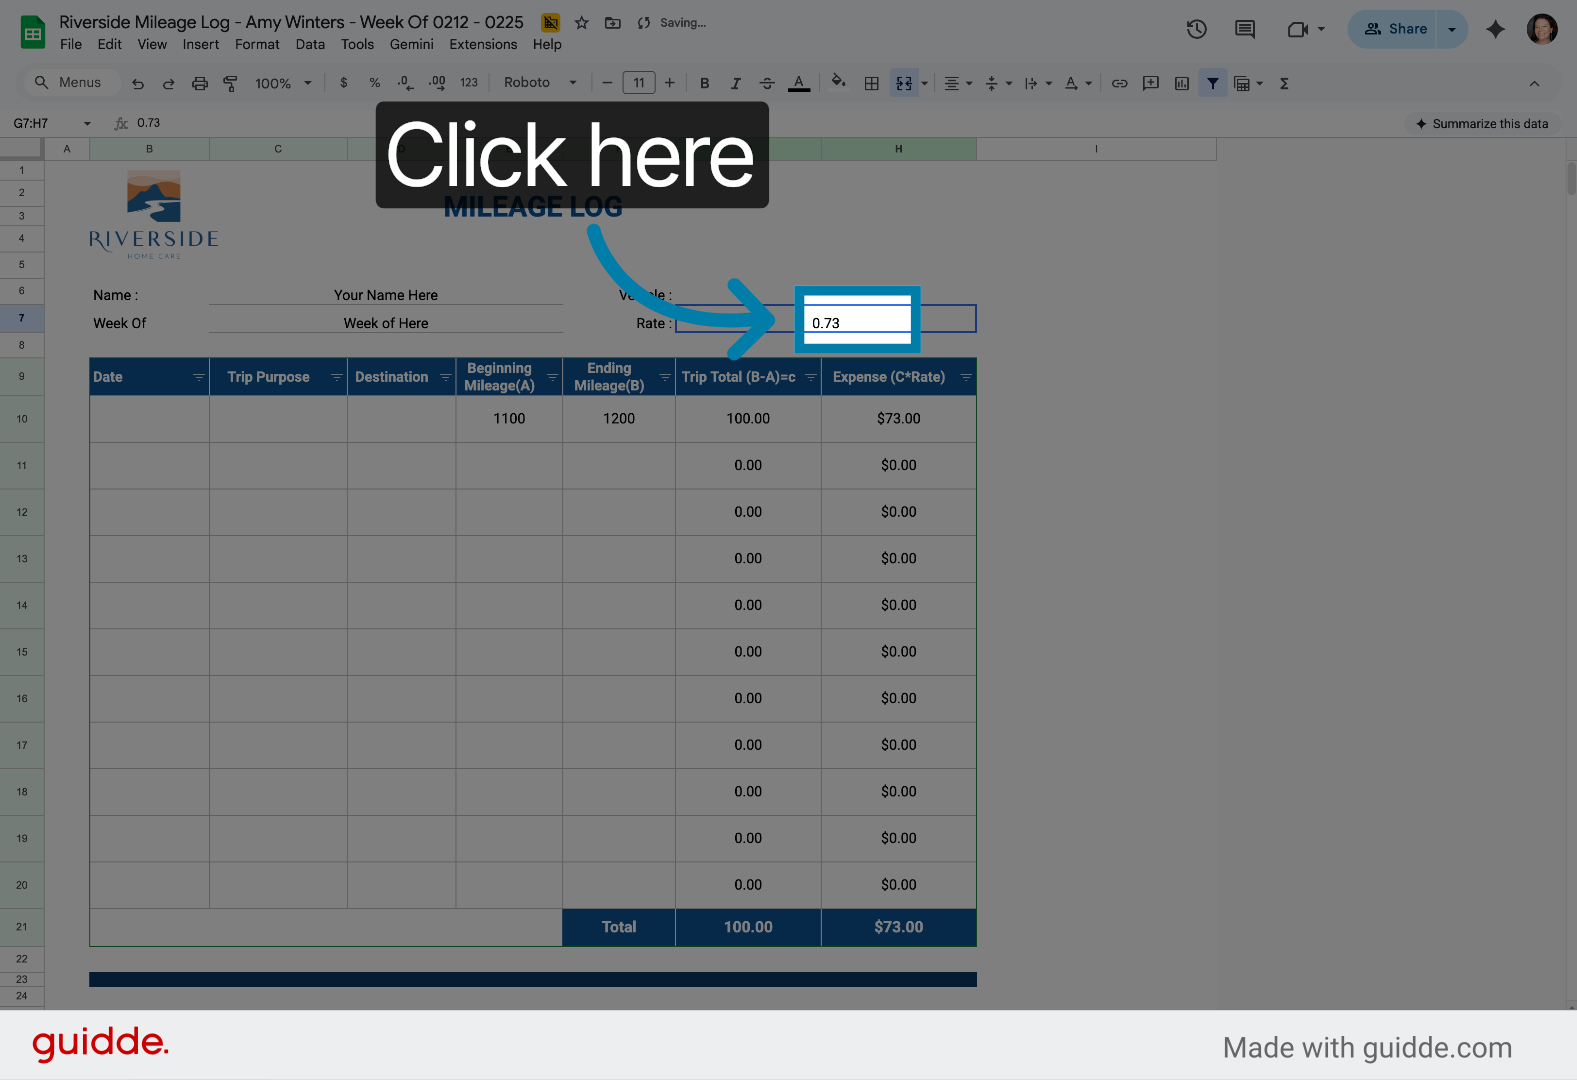
Click here to access the final cell for any additional mileage information.
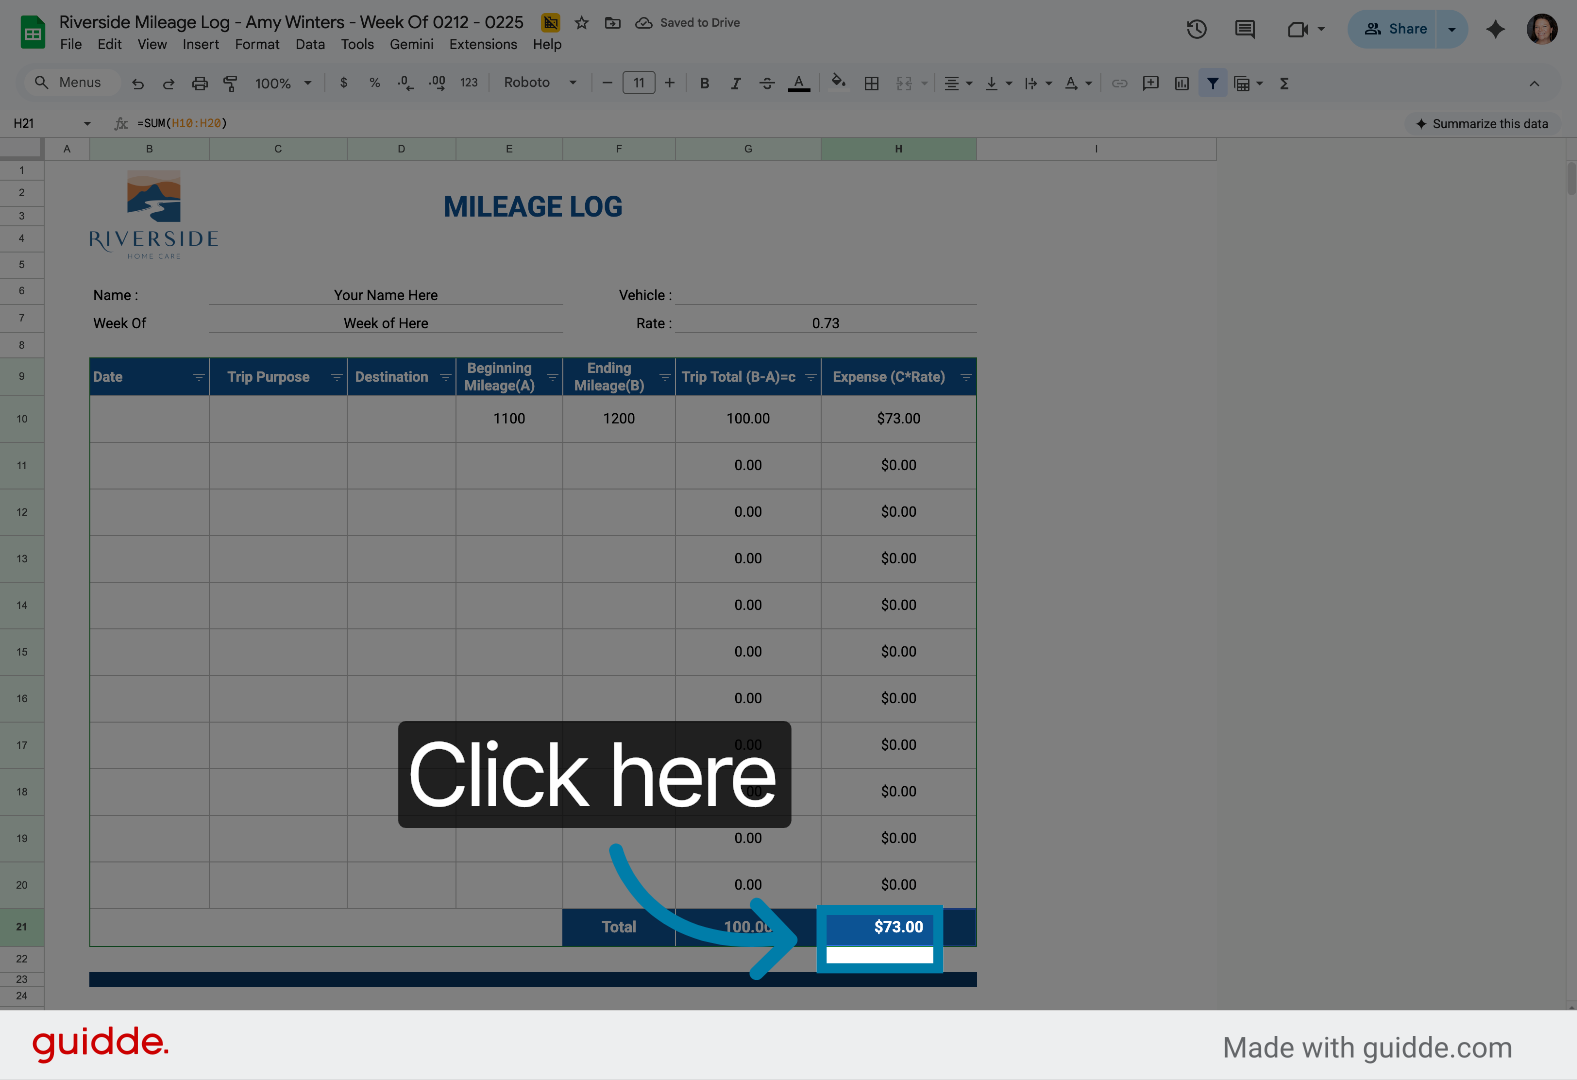
39. Complete Data Entry
Click here to finalize and save all mileage log entries in the spreadsheet.
Now you can efficiently locate, rename, and update your Mileage Logs within Google Drive and Google Sheets. Start managing your mileage tracking with ease using these streamlined steps. For additional support, visit our help center or contact customer service.